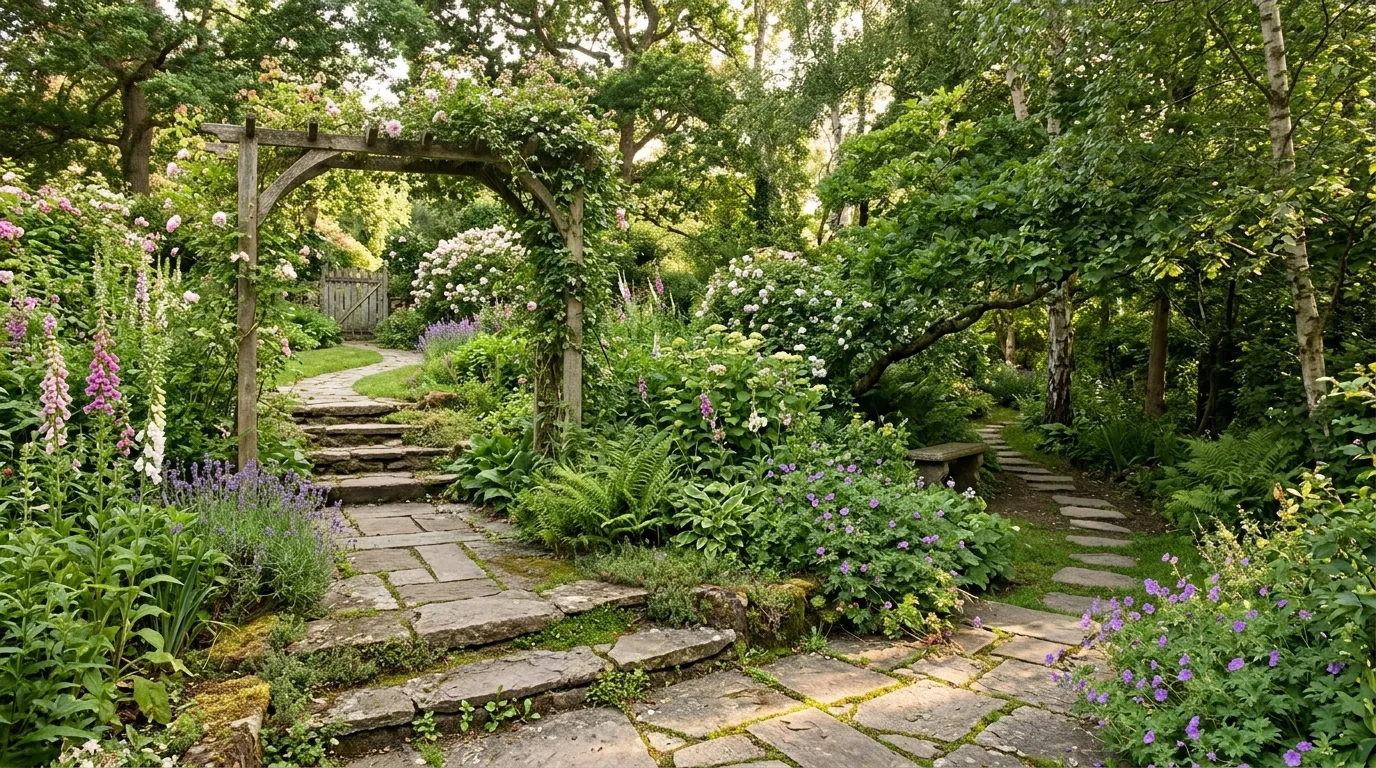
Garden Path Ideas: 25 Winding Walkways You’ll Wander
A winding garden path can turn an ordinary yard into a beautiful outdoor retreat. Even a simple walkway can make your garden feel more inviting, organized, and full of character.
These Garden Path Ideas feature 25 inspiring designs, from rustic stepping stones and cozy brick trails to gravel walkways and flower-lined paths. Whether you have a spacious backyard, a small side yard, or a peaceful corner waiting for attention, you can find a style that suits your space and budget.
The secret is choosing materials and curves that work with your existing landscape. Natural stone creates a timeless look, gravel offers a flexible option, and colorful planting borders bring softness and seasonal interest. I’ve noticed that paths feel most natural when they connect useful destinations while leaving room for plants to grow. Explore these ideas to find a walkway that makes your garden more practical, personal, and enjoyable.
Stepping Stone Curve
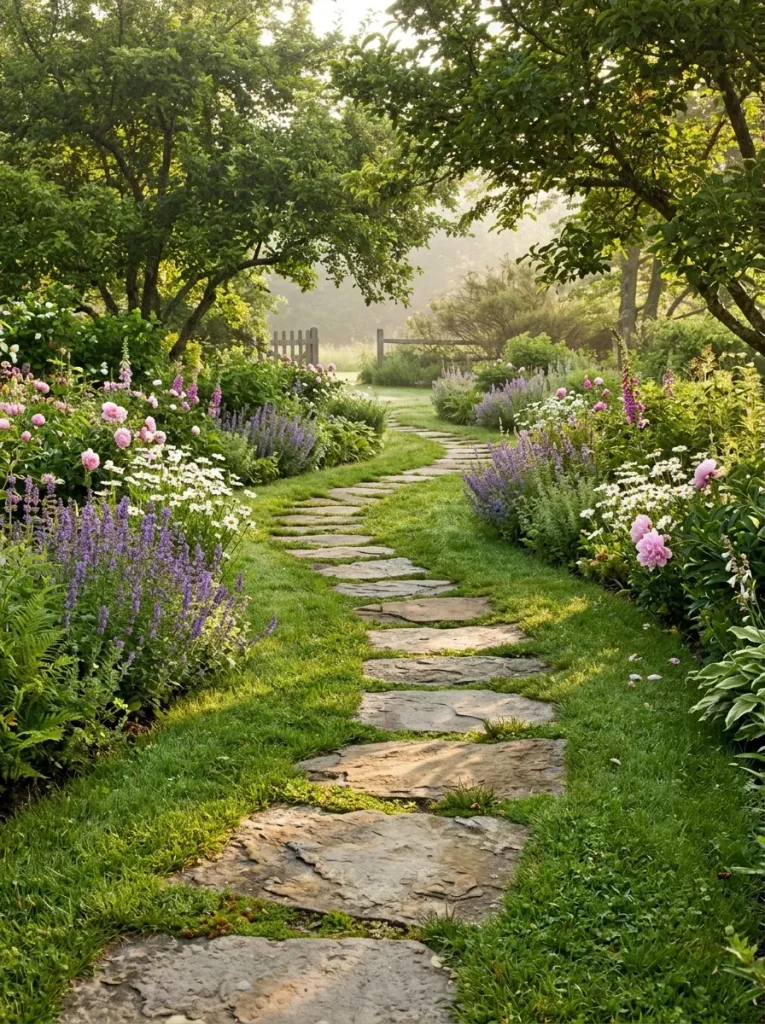
A curved stepping stone path brings a relaxed, natural feel to any garden. Instead of leading straight to the destination, the stones guide visitors gently around flowers, shrubs, or a small lawn feature. Choose irregular limestone or sandstone pieces for an organic look that blends beautifully with greenery.
Leave enough space between each stone for comfortable walking, and keep the gaps relatively consistent. Fill them with grass, low-growing ground cover, or fine gravel, depending on your maintenance preferences. For a practical finish, set every stone firmly on a level base so it stays stable during wet weather.
Gravel Garden Walkway
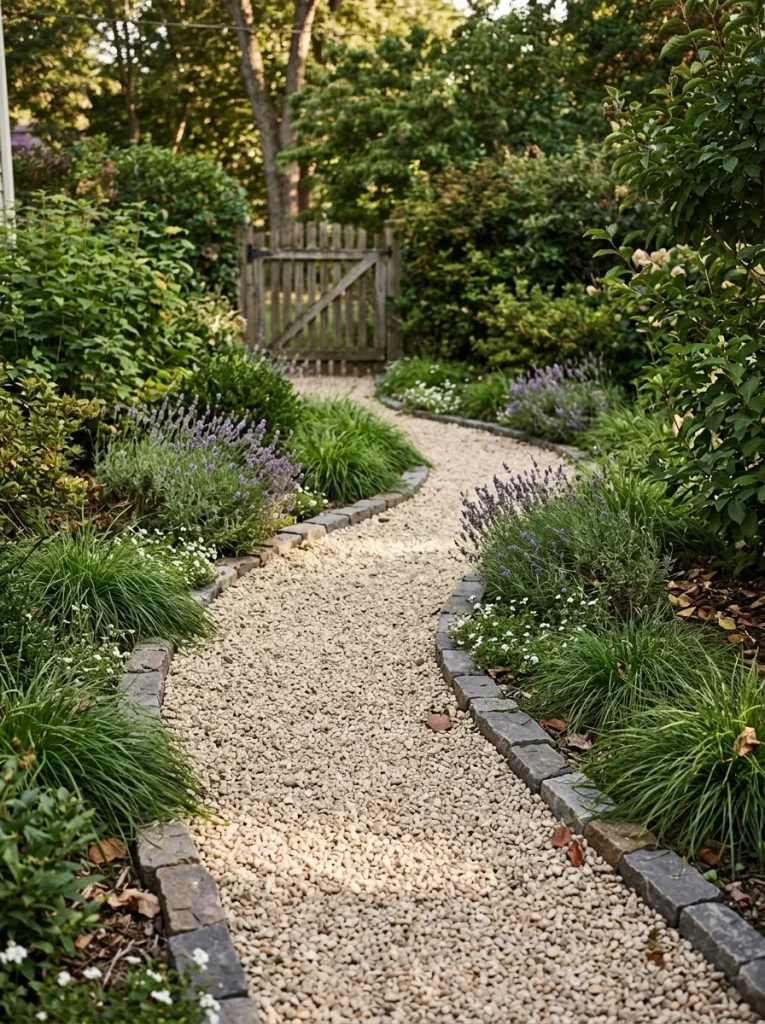
A gravel walkway offers an affordable way to create a winding route through your outdoor space without making the garden feel overly formal. Pale gravel brightens shaded corners, while warm golden tones complement wooden fences, terracotta pots, and natural stone features.
- Choose the right gravel: Pea gravel feels comfortable underfoot, while angular crushed stone generally locks together more firmly.
- Install landscape fabric: A suitable weed barrier beneath the gravel can help reduce unwanted growth.
- Add sturdy edging: Metal, brick, or stone borders keep loose material from spreading into flower beds.
- Plan for drainage: Prepare a stable base and avoid directing runoff toward your house.
- Maintain the surface: Rake the gravel occasionally and replenish thin areas when needed.
For a polished result, keep the path around 30 to 36 inches wide where space allows. A wider walkway feels welcoming, while a narrower route can work between raised beds or along a small garden border. Gravel is especially useful when you want flexibility without committing to a permanent paved surface.
Brick Cottage Path

Quick Tip:
Choose reclaimed bricks for a weathered, established appearance, or use new clay pavers for a more consistent finish. Install them over a properly compacted base with suitable drainage, and use edge restraints to prevent movement over time.
A brick walkway creates a warm connection between your home, garden beds, and outdoor seating areas. Its rich red and earthy brown tones look especially inviting beside white flowers, climbing roses, and traditional wooden gates. A gentle curve softens the structured pattern and makes the route feel more natural.
For the most reliable surface, prepare the ground carefully before laying the bricks. Keep the walking area even, fill the joints with suitable material, and check for loose or raised bricks as the seasons change. This classic design suits cottage gardens, traditional homes, and outdoor spaces that benefit from a little old-world character.
Read More: 30 Rustic Garden Fence Ideas That Protect in Style
Flagstone Garden Trail
BEFORE
A plain strip of soil or patchy grass can make a garden feel unfinished. During rainy weather, the ground may become muddy, slippery, and difficult to maintain.
AFTER
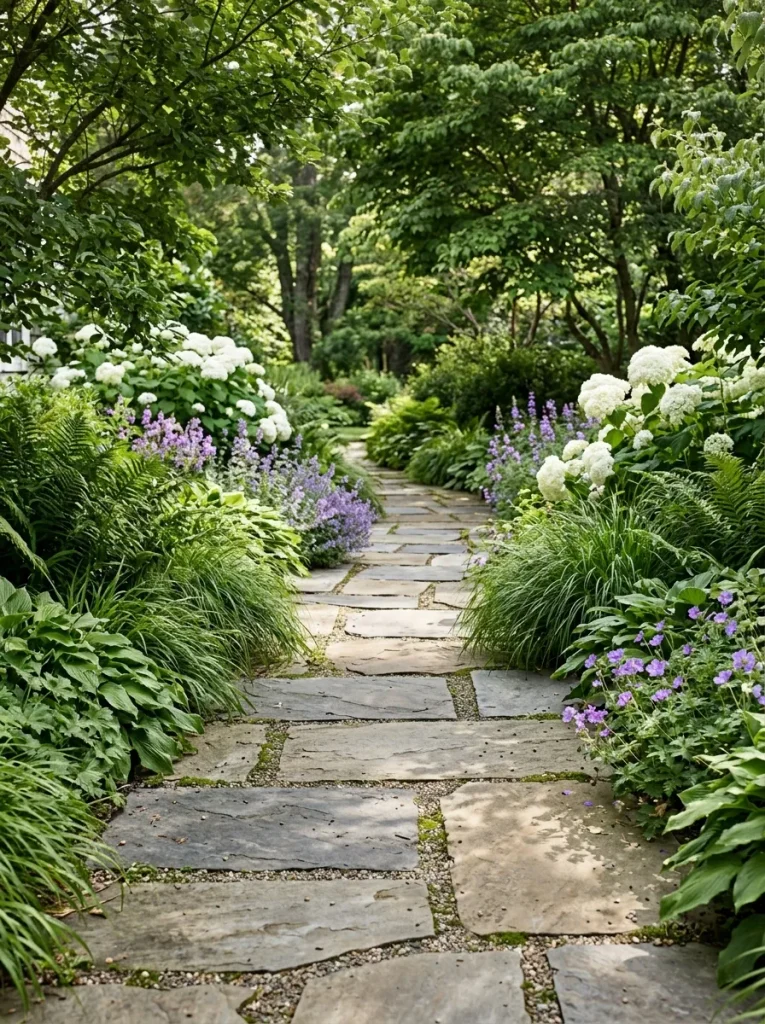
Large flagstones create a defined walking surface while preserving the garden’s natural character. Their irregular shapes make the walkway feel connected to the surrounding landscape.
Flagstone works particularly well for winding routes between flower beds, mature trees, and secluded seating areas. Choose stones with naturally textured, slip-resistant surfaces, and install them on a stable, well-drained base. Keep the gaps small enough for comfortable walking, especially if children or older adults regularly use the path. Muted gray and sandy tones complement nearly any planting palette.
Timber Edged Path
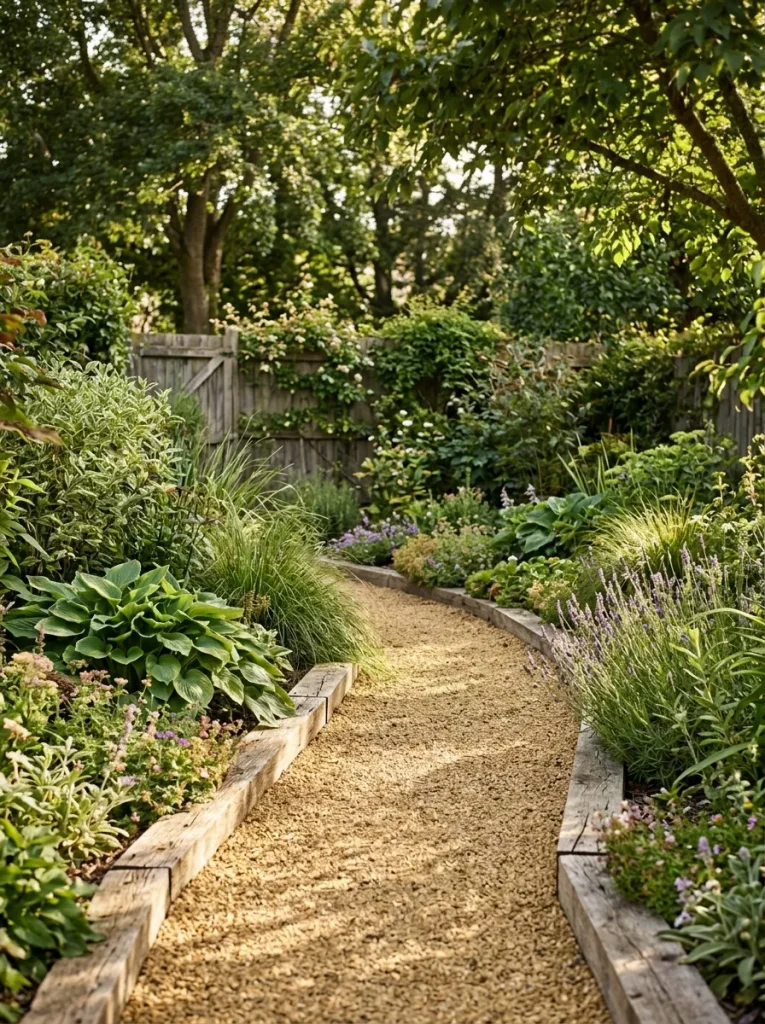
- Mark the curve: Use a garden hose or rope to outline the desired route before digging.
- Prepare the ground: Remove weeds, loosen the soil, and establish a firm base suitable for your chosen path material.
- Install timber edging: Secure durable, outdoor-rated wood along both sides of the walkway.
- Add the surface: Fill the center with compacted gravel, bark mulch, or another suitable walking material.
- Check drainage: Keep the finished surface slightly graded so water does not collect along the edges.
Timber edging gives a winding path a tidy outline without making it look too formal. The warm wood tones contrast beautifully with green foliage and pale gravel. Choose rot-resistant timber or appropriately treated wood, and avoid products unsuitable for contact with garden soil. This approach is particularly useful for informal garden trails and budget-conscious landscaping projects.
Pavers Versus Gravel
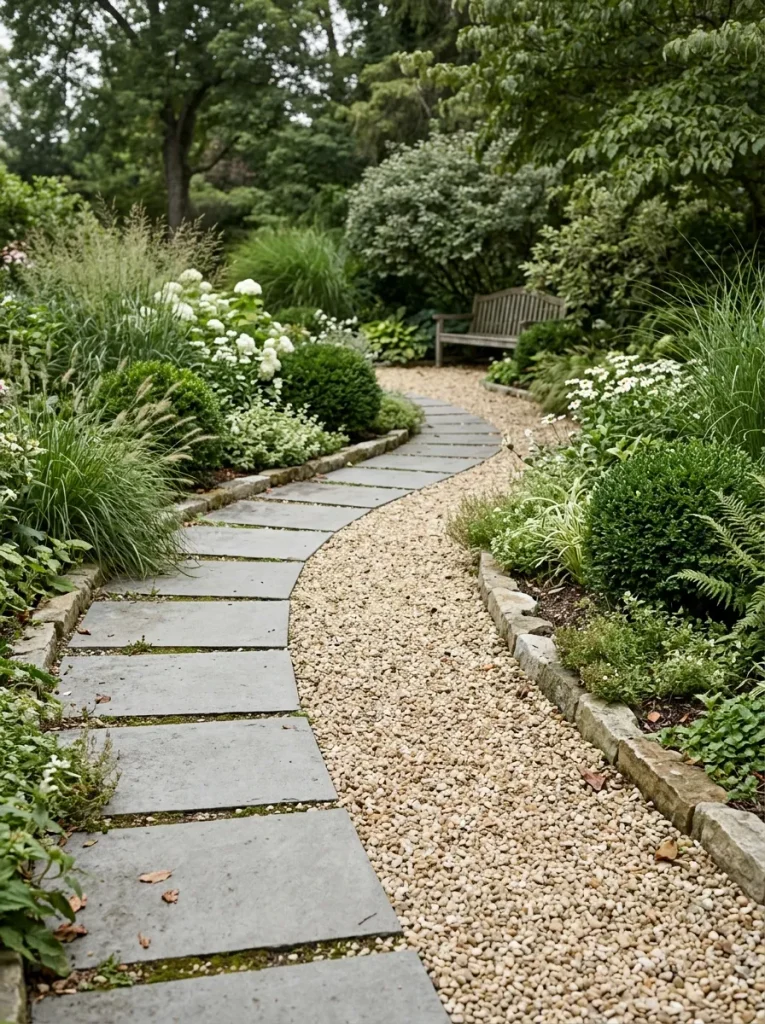
| Feature | Concrete Pavers | Gravel |
|---|---|---|
| Initial cost | Moderate | Often lower |
| Walking surface | Firm and even when installed correctly | Loose underfoot |
| Maintenance | Reset uneven pavers as needed | Rake and replenish periodically |
| Installation | Requires careful base preparation | Requires edging and a suitable base |
| Best suited for | Main access routes | Informal garden trails |
The right surface depends on how you plan to use your walkway. Pavers are practical for routes carrying wheelbarrows, garden carts, or frequent foot traffic. Gravel suits relaxed paths winding between plants and trees. Both can look attractive when their colors complement the surrounding landscape. Before choosing, consider drainage, accessibility, installation effort, and how much maintenance you can comfortably manage.
Mulch Woodland Trail
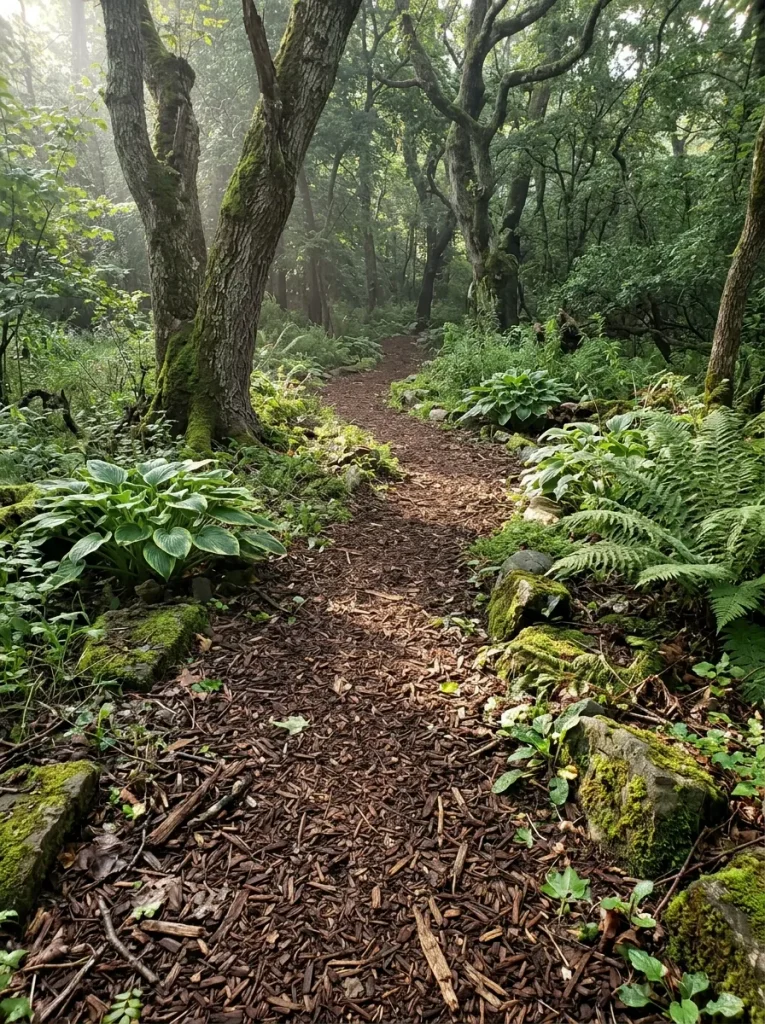
DO
- Spread wood chips over a cleared, reasonably level route.
- Use natural, untreated mulch suitable for garden pathways.
- Maintain a consistent walking width between trees and planting beds.
- Replenish the surface as the material decomposes.
DON’T
- Use slippery, decomposing mulch on steep slopes.
- Pile wood chips against tree trunks or building foundations.
- Allow the path to become waterlogged.
- Assume loose mulch provides a firm, accessible surface for every visitor.
A mulch trail blends beautifully into shaded gardens where grass struggles to grow. Its earthy color creates a natural transition between trees, shrubs, and woodland planting. I’ve noticed that this type of path works best when the route follows the existing landscape rather than forcing a sharp curve through tree roots. Refresh the surface periodically, and choose a firmer material if the path needs to accommodate regular wheeled access.
Pebble Mosaic Walkway

Image Description: A winding garden walkway decorated with intricate cream, charcoal, terracotta, and muted blue pebble mosaics arranged in flowing circular patterns. Smooth river pebbles create decorative borders beside green ground cover, purple flowers, and compact shrubs. Bright natural daylight reveals the individual stones and artistic details. Mediterranean-inspired garden design, realistic close-up textures and an angled overhead perspective.
Cost: Moderate to high, depending on pebble selection and installation.
Time: Several days or longer for an intricate design.
Skill Level: Intermediate to advanced.
Best For: Decorative garden entrances, courtyards, and focal-point walkways.
A pebble mosaic turns an ordinary garden route into a handcrafted feature. Simple repeating arcs or bands are easier to install than elaborate pictures, making them a sensible starting point for beginners. Choose a limited palette so the design complements nearby plants rather than competing with them. For safe everyday use, set the pebbles firmly into a suitable base and keep the finished surface relatively even.
Curved Lawn Footpath

A gentle curve can make even a modest lawn feel more interesting without sacrificing too much green space. Lay broad stepping slabs along the route to create a clear walking line while allowing grass to remain the main feature.
For a comfortable result, arrange the slabs to match a natural walking stride rather than placing them at random intervals. Set each stone level with the surrounding lawn so mowing remains manageable. This design works particularly well between a patio and a garden shed, vegetable beds, or an outdoor seating area. Avoid overly tight curves that make carrying tools or pushing a garden cart difficult.
Brick and Gravel Mix
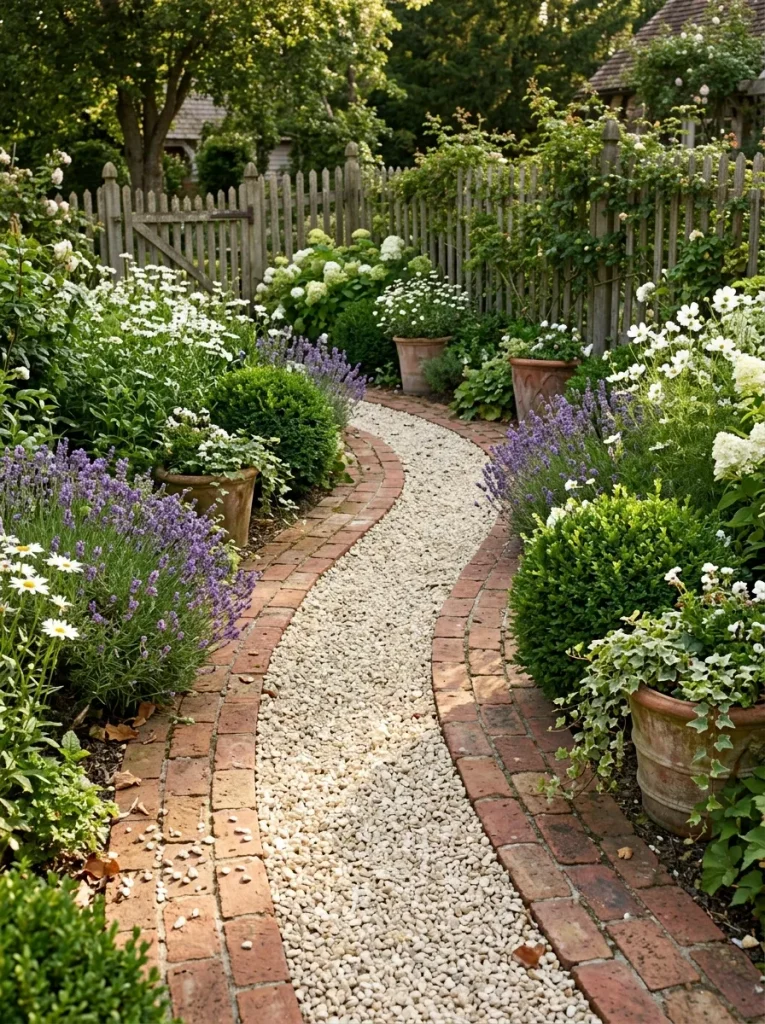
- Choose complementary materials: Pair warm red bricks with beige gravel or weathered brown bricks with gray stone.
- Outline the route: Mark a smooth curve that connects the garden’s main destinations.
- Prepare the base: Excavate and compact the ground according to the materials selected.
- Set the brick borders: Install stable edge restraints to hold the gravel in place.
- Finish the center: Add the gravel evenly and check that the surface drains properly.
Combining brick and gravel gives a walkway more definition than either material may provide alone. The bricks create a strong visual border, while the loose center keeps the design relaxed and relatively affordable. This combination suits cottage gardens, small courtyards, and planting areas where a little structure helps separate the path from surrounding flowers.
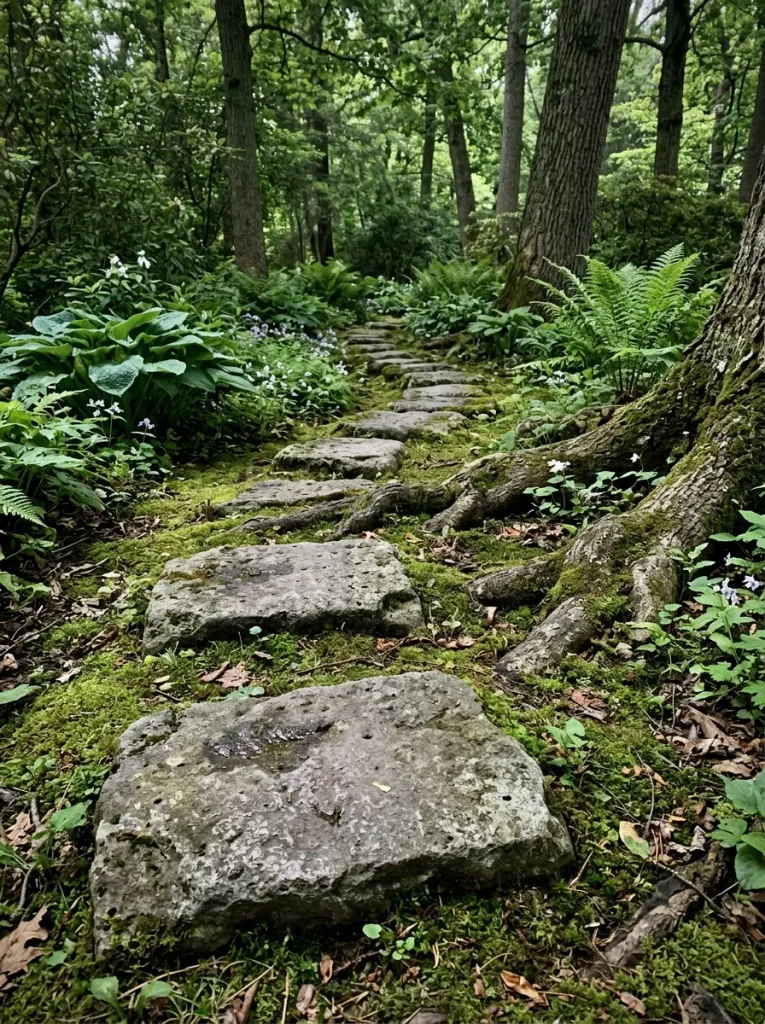
Stepping Stones Through Moss
Quick Tip:
Use moss only where the growing conditions suit it, such as consistently moist, shaded areas. Select textured stones and keep the walking surface free of slippery buildup.
Moss between stepping stones creates a soft, established look that suits woodland gardens and shaded corners. However, moss can become slippery when wet, particularly on smooth stone. Keep the main walking surface clear and use a firm base beneath each slab. If the area receives too much sun or dries out frequently, low-growing shade-tolerant plants or fine gravel may be more practical than trying to maintain a moss carpet.
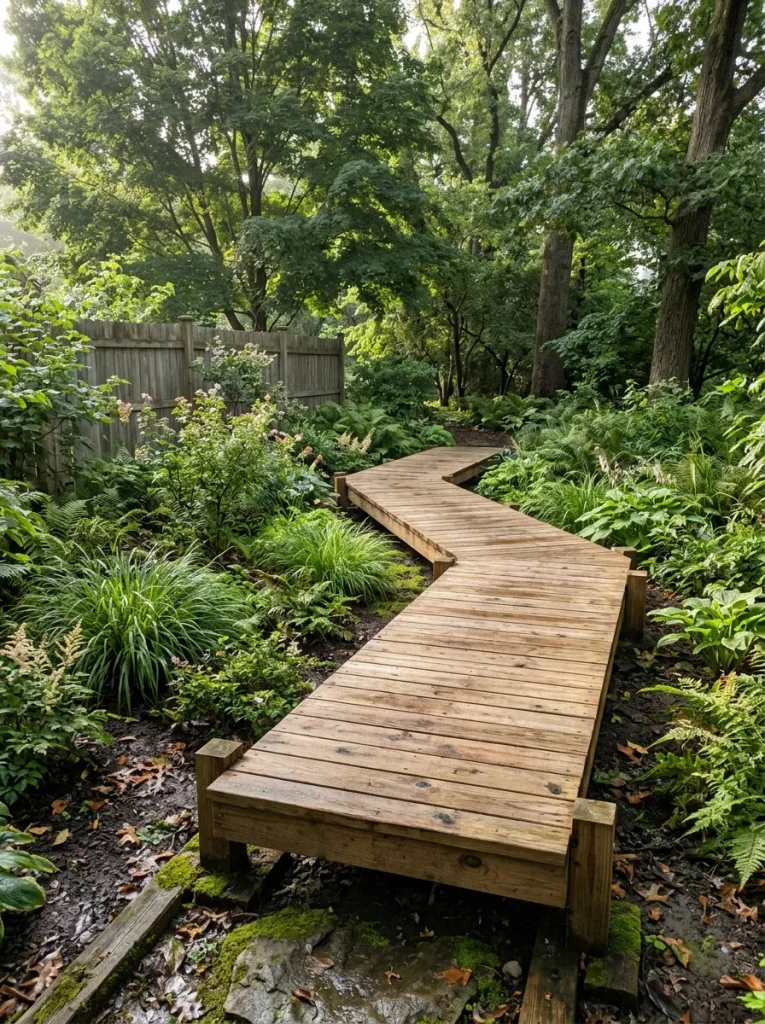
Raised Boardwalk Path
BEFORE
A low-lying garden route can become muddy after rain, making it uncomfortable to cross and difficult to maintain.
AFTER
A properly designed raised boardwalk provides a defined crossing above damp ground while allowing water to move beneath the structure.
Use durable outdoor-rated materials, suitable structural supports, and corrosion-resistant fasteners. The boards should have a slip-resistant finish and consistent spacing appropriate for the construction system. Raised walkways require careful attention to load capacity, drainage, and local building requirements, especially when the structure sits high above the ground. For a small residential garden, a low boardwalk can connect planting areas while protecting sensitive soil from repeated foot traffic.
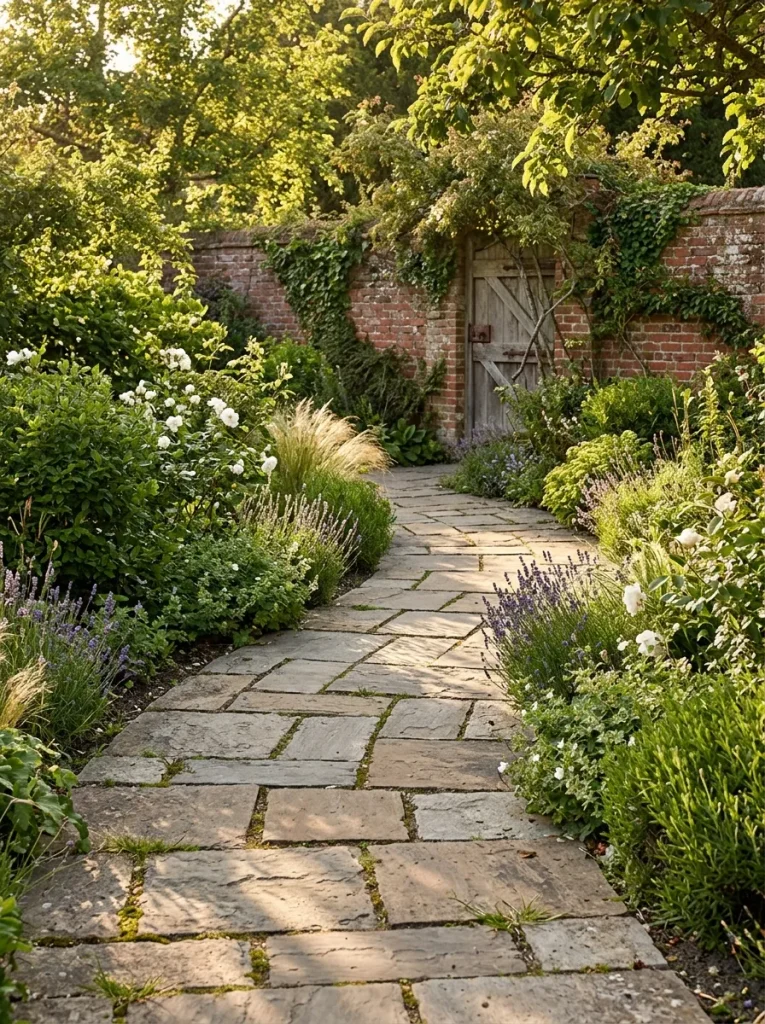
Reclaimed Stone Walkway
- Collect suitable stones: Choose reclaimed paving pieces with durable surfaces and manageable thickness.
- Sort by size: Group similar pieces together to make installation easier.
- Plan the curve: Arrange the stones loosely before preparing the permanent base.
- Prepare the foundation: Create a compacted, well-drained base appropriate for the stone type and soil.
- Set and finish: Secure the stones, fill the joints, and check for rocking or uneven edges.
Reclaimed stone adds natural variation that new manufactured paving often lacks. Different shades and weathered edges help a winding route feel connected to an older garden or traditional home. Check every piece for cracks, loose layers, and slippery surfaces before installation. A carefully sorted mixture creates a more cohesive result than placing stones randomly, particularly when the path passes close to formal flower beds.
Circular Garden Path

| Feature | Full Circular Route | Partial Curved Route |
|---|---|---|
| Layout | Loops around a central island | Follows one side of a bed |
| Space needed | Usually more | Often less |
| Visual effect | Strong focal point | Softer, understated curve |
| Best use | Larger lawns and garden centers | Small yards and narrow borders |
A circular route can organize a garden around one memorable focal point, such as a flowering bed, ornamental tree, or small sculpture. In a compact yard, a partial arc often provides the same sense of movement without taking up too much room. Keep the walking width consistent, choose paving that complements the house, and leave enough room around the central planting for pruning and seasonal maintenance.
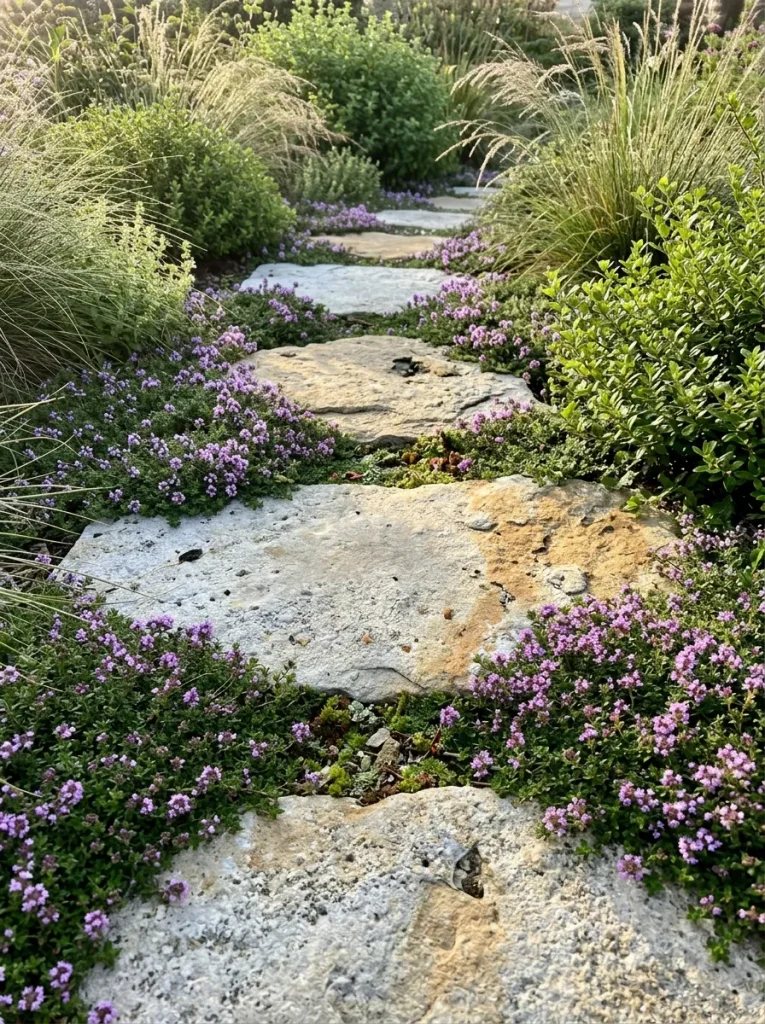
Stone and Ground Cover
DO
- Select low-growing plants suited to the local climate and available sunlight.
- Leave enough room for the chosen ground cover to spread.
- Set stones firmly on a stable base.
- Keep the primary walking surface free of excessive plant growth.
DON’T
- Plant aggressive spreaders without checking their growth habits.
- Allow foliage to hide uneven stone edges.
- Use delicate plants in areas receiving constant foot traffic.
- Let soil or mulch wash over the stepping surfaces.
Pairing stone with ground cover softens the boundary between a walkway and the garden around it. Creeping thyme can work in sunny, well-drained spots, while other low-growing species suit different climates and light conditions. Keep the stones stable and the gaps manageable. This approach creates a natural, layered look, but the plants need enough room to grow without making the route difficult to walk on.
Narrow Side Yard Trail
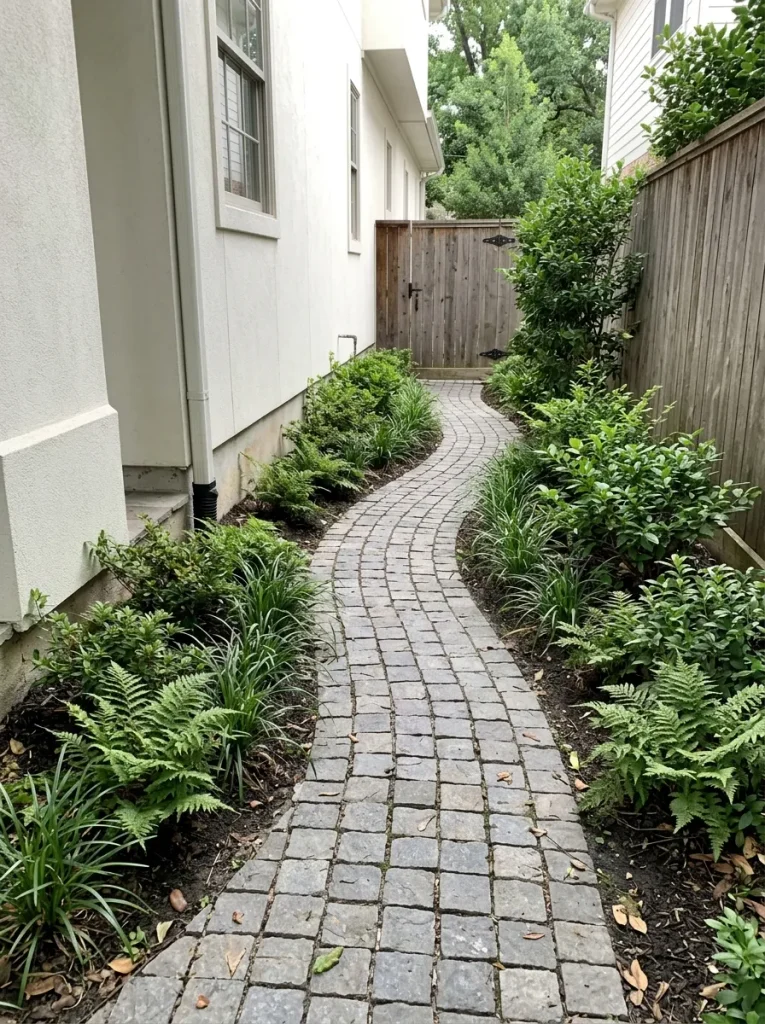
Cost: Low to moderate, depending on the paving material.
Time: One to several days for a simple ground-level route.
Skill Level: Beginner to intermediate.
Best For: Narrow side yards, utility access, and shaded passageways.
A narrow side yard often becomes an overlooked strip between the house and the boundary fence. A defined path makes it easier to reach outdoor taps, storage sheds, and garden equipment without trampling plants or walking through mud.
Measure the available width before selecting paving, and leave adequate clearance around doors, utility access points, and drainage features. Choose light-colored surfaces if the passage feels dark, and use compact plants that will not crowd the walking area. Make sure the finished route slopes water away from the building. Even a simple, straight section with a gentle curve near the gate can make a tight side yard more useful.
Flagstone and Grass Strips

A combination of paving and grass creates a clean but relaxed walkway that preserves the garden’s green appearance. Large slabs provide a clear route, while the narrow grass joints soften the hard edges and visually connect the path with the lawn.
Choose slabs with enough surface area for comfortable steps, and install them at a consistent height. Grass joints require sunlight, moisture, and regular trimming, so this style may need more maintenance in heavily shaded areas. In my experience, keeping the gaps relatively narrow makes mowing easier and gives the design a more cohesive finish. For a low-maintenance alternative, use fine gravel between the slabs.
Curved Gravel With Planting Borders

- Option A: Narrow borders. Use compact flowering plants and a simple gravel surface for a tidy, space-saving walkway.
- Option B: Deep borders. Create wider planting beds with layered perennials, grasses, and shrubs for a lush, immersive route.
Narrow borders are easier to maintain and work well in small gardens. Deeper borders create a more enveloping walkway, especially when plants soften the edges of a winding curve. Whichever layout you choose, select plants with similar water and sunlight needs. Keep vigorous plants from spreading across the gravel, and install firm edging to preserve the route’s shape. A limited flower palette can make even a simple gravel path feel thoughtfully designed.
Japanese-Inspired Stone Trail

DO
- Arrange stepping stones with deliberate spacing and a natural rhythm.
- Use a restrained palette of stone, green foliage, and wood.
- Add a few carefully placed plants rather than overcrowding the route.
- Keep the path’s destination visible enough to guide visitors.
DON’T
- Mix too many decorative materials in one small space.
- Place unstable stones on loose soil.
- Use slippery polished stone on frequently wet sections.
- Add ornaments that obstruct the walking line.
A Japanese-inspired trail focuses on balance, simplicity, and a close connection with nature. Each stone becomes part of a larger composition, guiding visitors through greenery at a comfortable pace. Use asymmetrical arrangements and a few well-chosen accents rather than filling every empty space. This style suits quiet courtyards, shaded corners, and gardens where the goal is to create a peaceful transition between outdoor areas.
Terracotta Garden Walkway
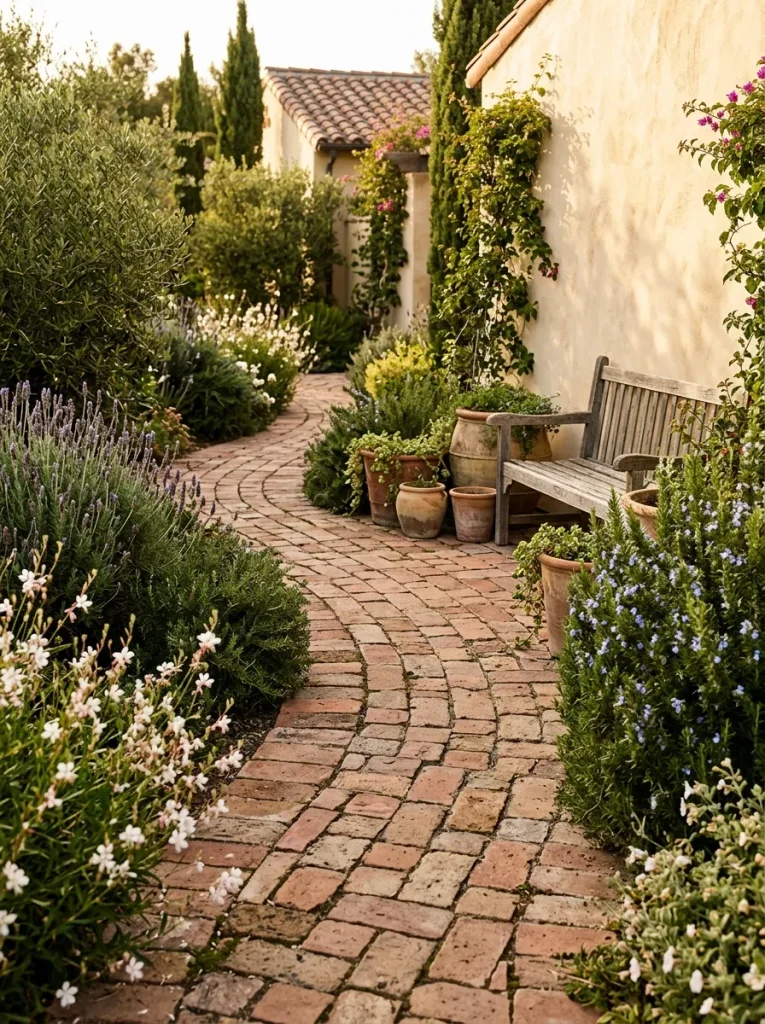
Cost: Moderate, depending on paver type and preparation.
Time: One to several days for a small walkway.
Skill Level: Intermediate.
Best For: Sunny courtyards, Mediterranean-inspired gardens, and warm-toned outdoor spaces.
Terracotta paving brings warmth to a garden, especially when paired with silver-green foliage, rosemary, lavender, and natural wood. The earthy colors look striking beside pale walls and dark green planting. Choose outdoor-rated pavers suitable for your climate, as some clay products may crack in freeze-thaw conditions or become slippery when wet. A stable base, suitable joint material, and reliable drainage help protect the walkway from movement. This design works especially well when the path connects a patio with a sunny herb garden.
Garden Path With Arches
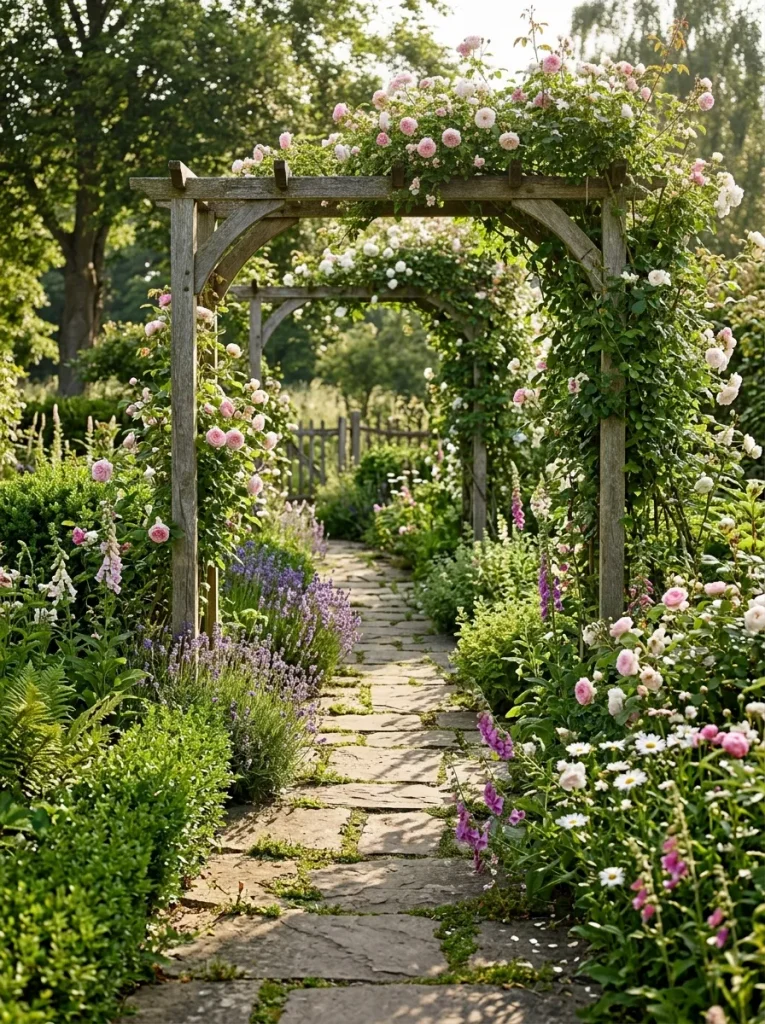
A series of garden arches creates a sense of rhythm along a winding walkway. Each frame marks a transition between outdoor spaces, such as the lawn, vegetable garden, and secluded seating area. Wooden arches suit cottage gardens, while metal structures provide a lighter look for smaller yards.
Choose durable materials and secure every arch according to the manufacturer’s instructions, particularly in windy locations. Select climbers suited to your climate and provide enough room for their mature growth. Keep thorny stems and low-hanging branches away from the walking line. Two well-spaced arches can make a stronger impression than a crowded sequence, especially when the path already curves through established planting.
Recycled Paver Walkway
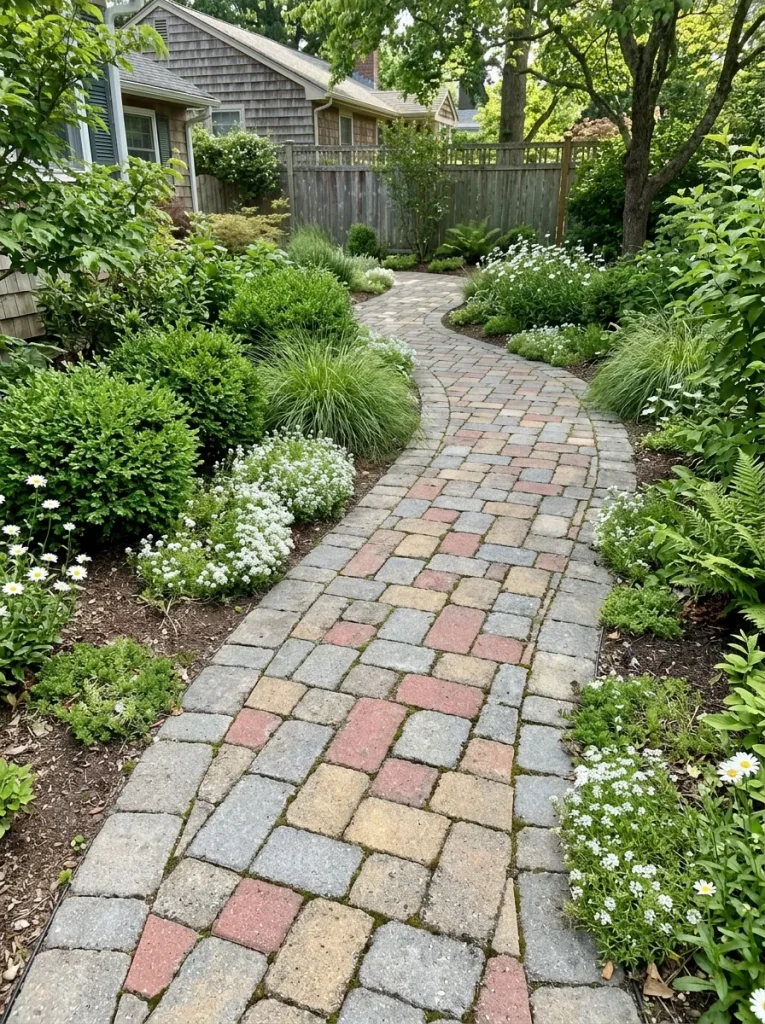
Quick Tip:
Before reusing old pavers, check each piece for cracks, crumbling edges, oil contamination, and uneven thickness. Sort them by size and color before installation to make the pattern easier to plan.
Recycled pavers can reduce material waste and give a garden walkway a distinctive, mixed-material appearance. They are especially useful when leftover paving is already available from another landscaping project. For a balanced finish, repeat the same colors throughout the route rather than placing every shade in a separate cluster. Prepare a suitable compacted base and check the finished surface for rocking or raised edges. Reuse works best when the pavers are sound, compatible in thickness, and appropriate for outdoor walking.
River Rock Border Path
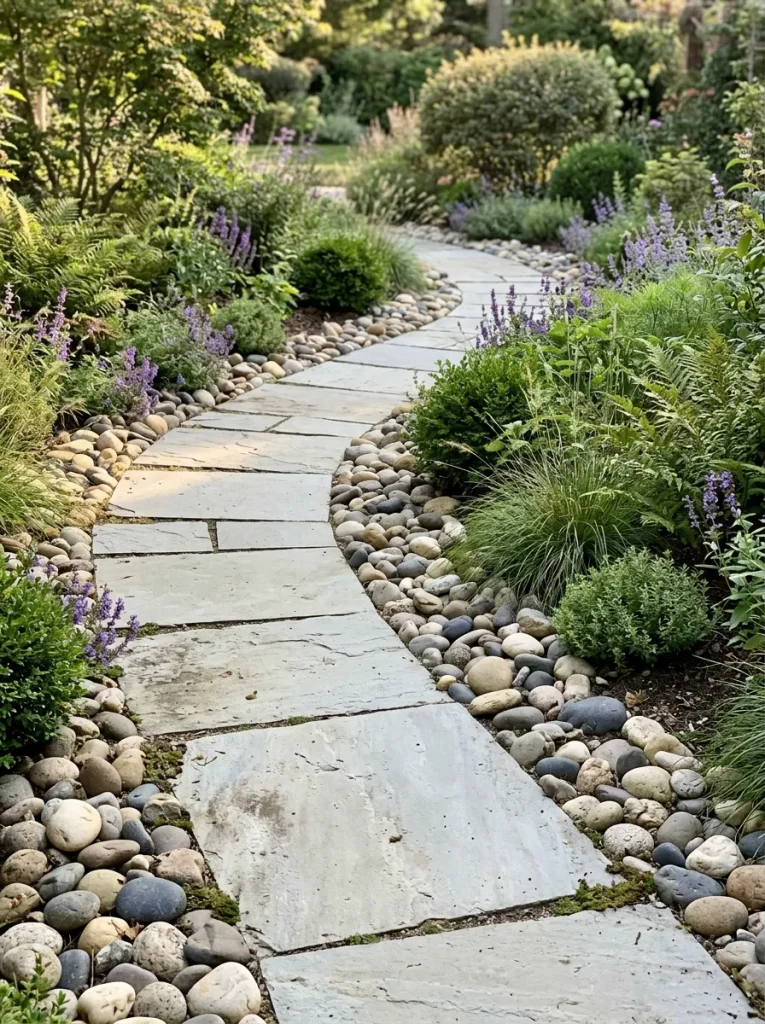
- Mark the walkway: Outline a smooth curve with a garden hose or rope.
- Prepare the base: Excavate and compact the route to suit the paving material.
- Install the main surface: Position the slabs with consistent spacing and a stable finish.
- Add the border: Arrange river rocks in a contained strip along the edges.
- Check runoff: Ensure rainwater can drain without washing the stones into planting beds.
River rock borders create a clear visual boundary between a paved route and surrounding plants. Their rounded shapes contrast nicely with flat slabs, giving the walkway a layered, natural finish. Keep the stones contained with suitable edging, particularly on slopes or near drainage channels. Avoid placing loose pebbles where they could spill onto the walking surface. This design is well suited to contemporary gardens, dry-climate landscaping, and spaces with mixed stone features.
Curving Paver Ribbon

A continuous ribbon of rectangular pavers gives a garden a clean, contemporary appearance without relying on a perfectly straight route. The gentle curve guides the eye toward a destination while preserving a simple, uncluttered design.
Choose pavers with consistent dimensions so the pattern remains neat around bends. For tighter curves, smaller units generally adapt more easily than long slabs. Use a suitable base and secure edge restraints to reduce movement over time. The surrounding lawn or gravel can provide contrast, while restrained planting keeps the paving as the main visual feature. This design works particularly well in modern gardens where strong lines and simple materials are already part of the architecture.
Flower-Lined Winding Trail
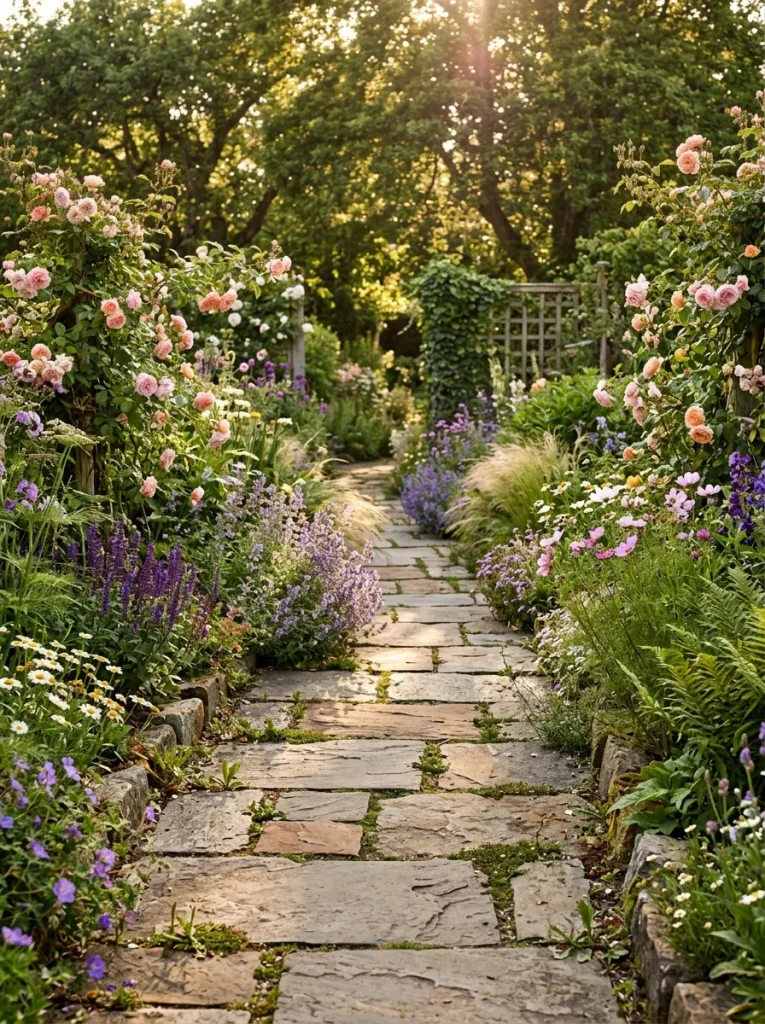
DO
- Plant flowers with staggered blooming periods for seasonal interest.
- Choose varieties suited to the sunlight, soil, and local climate.
- Keep taller plants toward the back of the border.
- Leave enough clearance for comfortable walking and garden maintenance.
DON’T
- Plant aggressive spreaders directly beside narrow paving.
- Block the route with drooping branches or overgrown foliage.
- Mix plants with very different watering needs without planning.
- Forget to leave access for pruning, weeding, and replacing seasonal flowers.
A flower-lined trail brings color, fragrance, and changing seasonal details to a garden walkway. Combine dependable flowering perennials with a few seasonal favorites so the borders remain interesting throughout the growing season. Keep the route itself simple enough to walk comfortably, and repeat a few flower colors along the curves for a connected look. The result can feel abundant without becoming chaotic, especially when the paving and edging stay consistent from beginning to end.
Conclusion
A beautiful garden walkway does more than connect one area to another. It adds structure, highlights your favorite plants, and encourages you to spend more time outdoors. From reclaimed stone and brick to gravel trails and flower-lined curves, these Garden Path Ideas offer inspiration for different budgets, garden sizes, and design styles.
Start by choosing one idea that fits your space, then plan your route, select suitable materials, and consider drainage and maintenance before beginning. Save this article on Pinterest so you can revisit your favorite designs, and share it with anyone planning a garden makeover. Your dream outdoor retreat can begin with one simple path.


One Comment