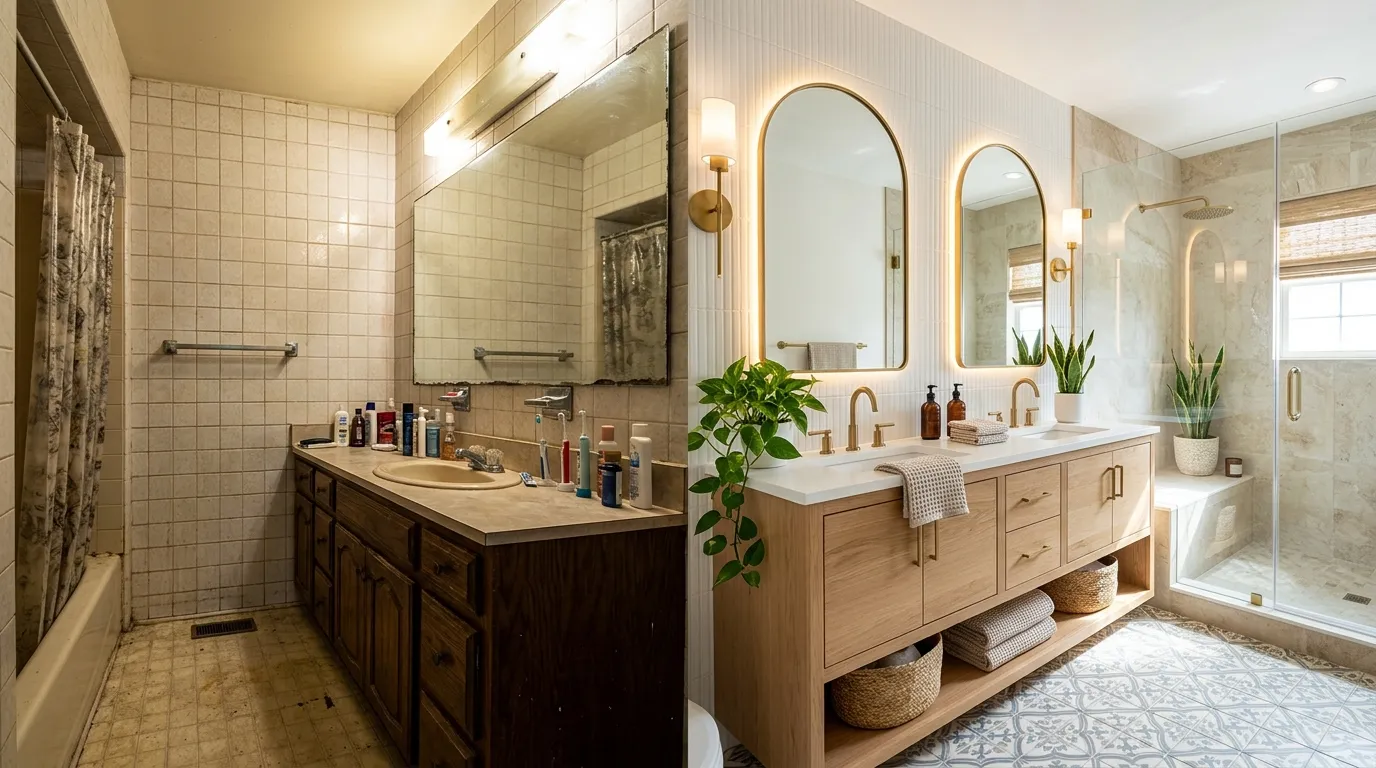
Bathroom Makeover Ideas: 30 Budget Swaps That Wow You
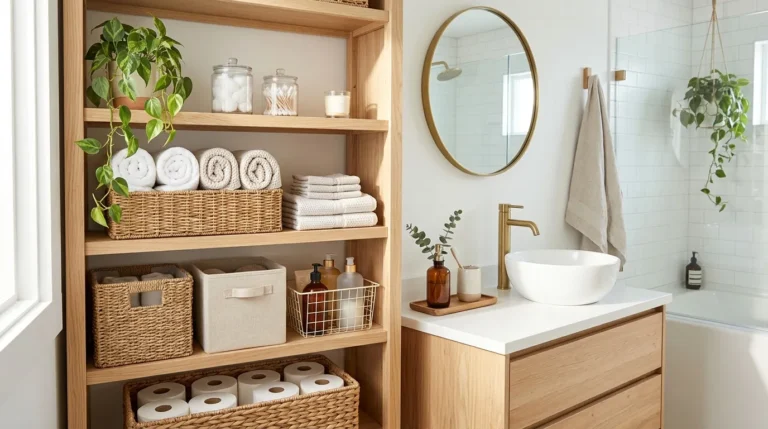
These Bathroom Makeover Ideas will show you how to refresh your space with 30 budget friendly swaps that look beautiful without stretching your wallet. From freshly painted vanity cabinets and stylish hardware to cozy towels, decorative mirrors and clever storage, there are plenty of ways to give your bathroom a new look for less.
Whether you’re decorating a rental, updating a dated guest bathroom or giving your main bathroom some much needed attention, you’ll find practical ideas to suit different styles and budgets. I’ve noticed that coordinating small details, such as towel colors, cabinet handles and countertop accessories, can help a room feel much more pulled together.
You don’t have to tackle everything at once, either. Start with one affordable update, build on what you already own and create a bathroom that feels cleaner, calmer and more like you.
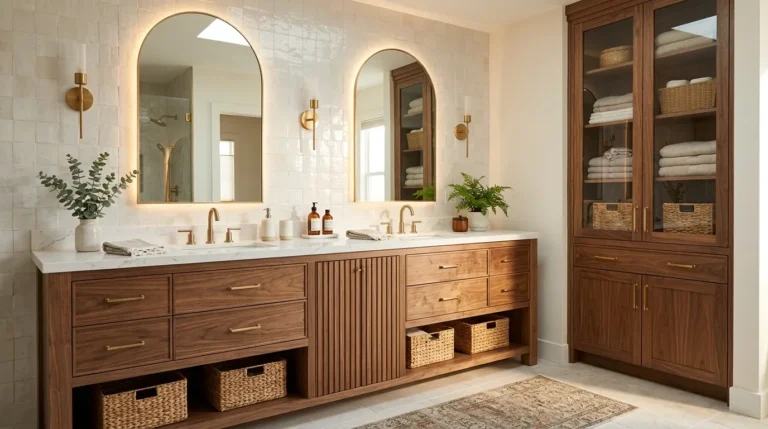
Painted Vanity Cabinets

A tired bathroom vanity can make the entire room feel dated, but a fresh coat of paint can change its look for a fraction of the cost of replacement. Soft sage green, warm greige, creamy white and muted navy are attractive choices that work beautifully with neutral bathroom finishes.
Start by removing the cabinet doors and hardware. Clean away grease, lightly sand the surfaces and apply a suitable primer before painting with a durable cabinet enamel. Allow each coat to dry according to the manufacturer’s instructions.
For a polished finish, replace worn knobs with brushed brass or matte black hardware. The combination of fresh color and updated details can make an older vanity look thoughtfully redesigned without the expense of new cabinetry.
Stylish Cabinet Hardware

- Choose a finish: Brushed brass adds warmth, while matte black creates a crisp, modern contrast against white or light wood cabinets.
- Measure carefully: Check the distance between existing screw holes before buying replacement pulls to avoid unnecessary drilling.
- Mix shapes thoughtfully: Use matching knobs on small doors and coordinating pulls on wider drawers for a balanced appearance.
- Match nearby fixtures: Coordinate hardware with your faucet, mirror frame or towel bar for a more cohesive finish.
- Keep the old pieces: Store the original hardware in case you want to restore the vanity later.
New cabinet hardware is one of the easiest budget bathroom updates because it requires minimal tools and little time. A consistent metal finish helps separate pieces feel connected, even when they were purchased at different times. For the biggest visual impact, pair your new hardware with clean cabinet fronts and uncluttered countertops.
Peel and Stick Floor Tiles

Quick Tip:
Before buying peel and stick floor tiles, check that your existing flooring is compatible with the product and is smooth, clean, dry and structurally sound. Measure the room carefully and purchase extra tiles for trimming around corners and fixtures.
Patterned flooring can give a plain bathroom a striking new look without the expense of removing old tiles. Choose a classic black and white motif for contrast, a soft stone pattern for a calm atmosphere or muted terracotta for warmth. Smaller patterns can also help disguise minor visual imperfections.
For a better result, test a sample in your bathroom before covering the entire floor. Humidity, water exposure and uneven surfaces can affect adhesion, so follow the manufacturer’s instructions and avoid using ordinary peel and stick products in wet areas unless they are specifically rated for that purpose. A carefully chosen pattern can make the whole room feel more intentional.
Read More: 27 Bathroom Organization Ideas for a Spa Like Retreat
Framed Bathroom Mirrors
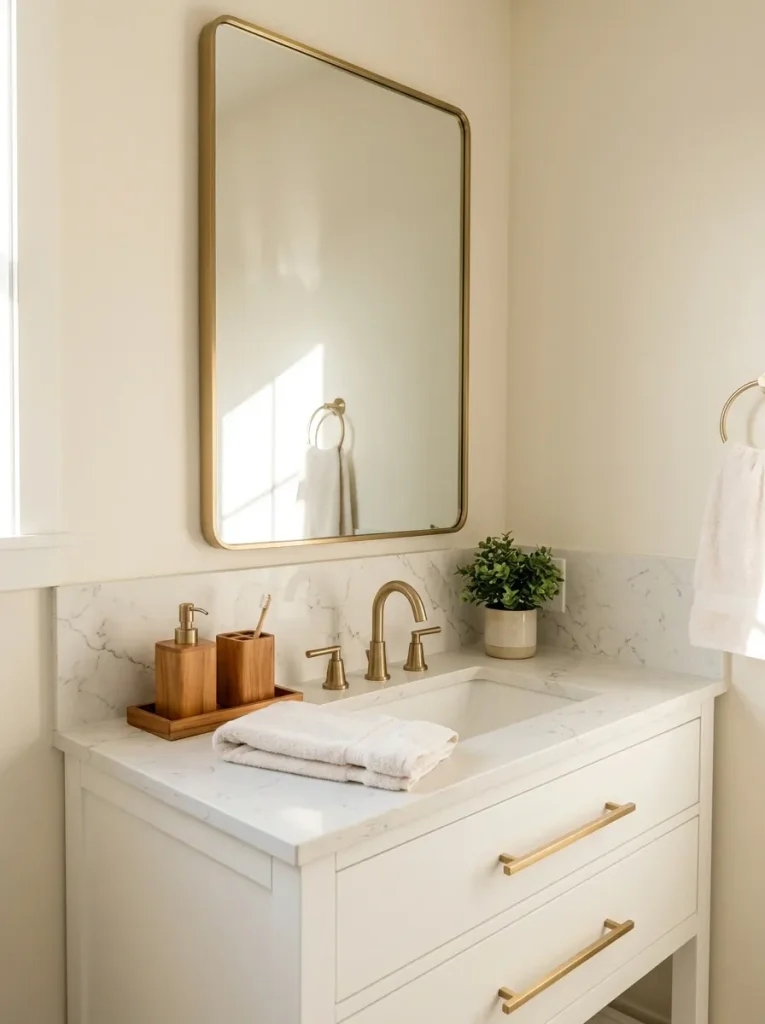
BEFORE
A plain, frameless builder grade mirror can make a bathroom feel unfinished. Even a clean vanity may look basic when the mirror lacks definition or visual contrast.
AFTER
A slim frame in black, brass, or natural wood gives the mirror a more polished appearance. The vanity area feels intentional without replacing the existing glass.
For a budget friendly update, buy a ready made mirror frame designed for bathroom use or install compatible trim around the existing mirror. Measure carefully before purchasing materials and make sure the frame does not interfere with mirror clips or electrical fixtures. In smaller bathrooms, a thin frame usually provides enough definition without making the wall feel crowded.
Fresh Shower Curtains

- Choose a color palette. Start with white, oatmeal, sage green or muted blue to create a fresh backdrop.
- Select a pattern. Fine stripes, delicate botanical prints or small geometric designs add personality without overwhelming a compact room.
- Hang the curtain higher. Position the rod closer to the ceiling when practical to create a taller visual line.
- Add a liner. Use a compatible waterproof liner to protect the fabric curtain from moisture and soap residue.
A new shower curtain can become the main decorative feature in a bathroom without requiring paint or construction. I’ve noticed that coordinating its colors with towels and a bath mat makes even basic fixtures feel more connected. Choose a washable fabric curtain and launder it according to its care label to keep the space looking fresh.
Updated Faucet Finishes

| Feature | Option A: Keep Existing | Option B: Replace Faucet |
| Upfront cost | Usually free | Moderate purchase cost |
| Visual effect | Familiar, unchanged finish | Fresh, coordinated appearance |
| Installation | No plumbing work | May require plumbing skills |
| Best for | Functional, attractive fixtures | Worn or outdated faucets |
A faucet in brushed brass, matte black or polished chrome can refresh the entire sink area. Before choosing a replacement, check the number and spacing of the existing mounting holes, the sink configuration, and the faucet’s compatibility with your plumbing. A finish that coordinates with cabinet hardware creates a cohesive look, but reliable operation and leak free installation matter more than appearance alone.
Floating Wooden Shelves

DO
- Install shelves above the toilet or beside the vanity to use overlooked wall space.
- Choose moisture resistant materials or properly sealed wood for bathroom conditions.
- Arrange everyday essentials in attractive baskets to keep small items organized.
- Leave some open space between objects for a clean, airy appearance.
DON’T
- Overload shelves with heavy bottles or decorative accessories.
- Place unsealed wood where it receives frequent splashes.
- Drill without checking for pipes or electrical wiring behind the wall.
- Store frequently used toiletries so high that they become difficult to reach.
Floating shelves combine practical storage with decorative appeal, especially in bathrooms without linen closets. Keep the heaviest items on lower shelves and use matching containers for smaller products. For a cohesive finish, repeat the shelf’s wood tone in a picture frame, soap dispenser or small stool nearby.
Coordinated Towel Sets

Cost: Low to moderate, depending on towel quality and quantity.
Time: About 15 to 30 minutes to arrange and style.
Skill Level: Beginner.
Best For: Bathrooms with mismatched, faded, or worn towels.
Quick win: Choose two complementary colors and repeat them throughout the room.
Matching towels can make a bathroom feel more organized without changing any permanent fixtures. White towels create a crisp, hotel-inspired look, while muted green or dusty blue introduces gentle color. In my experience, folding towels consistently and keeping extra linens in one basket helps even a small bathroom feel calmer and less cluttered.
Decorative Soap Dispensers
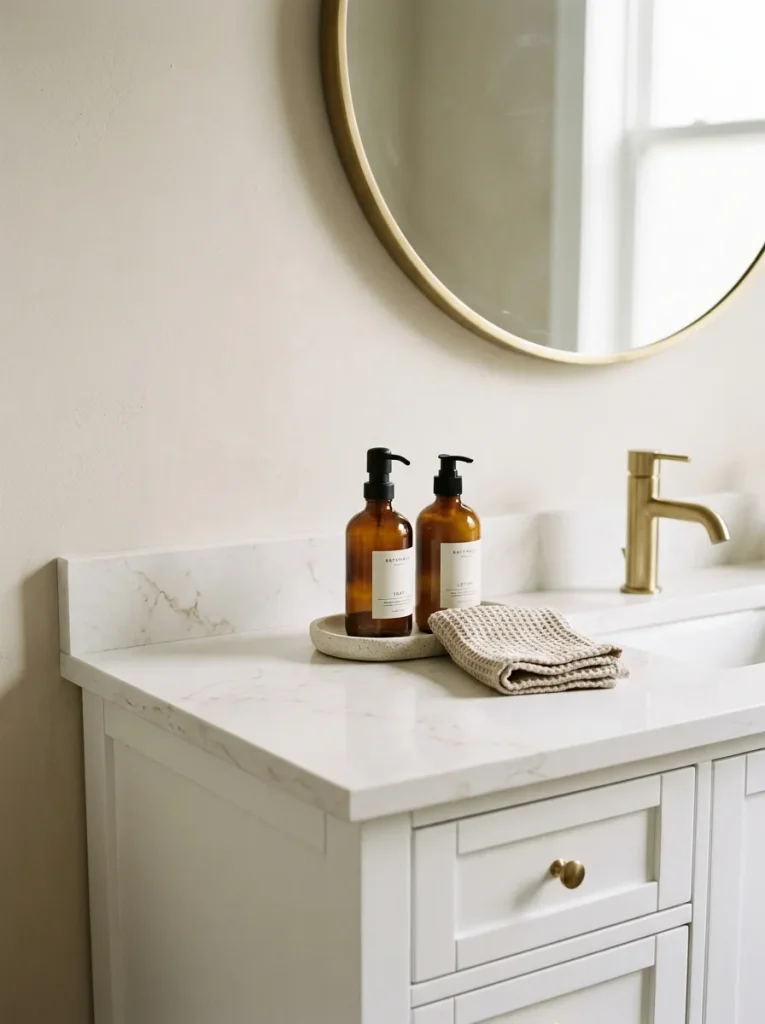
A collection of colorful plastic bottles can make an otherwise tidy countertop look busy. Replacing them with coordinated dispensers creates a cleaner appearance while keeping hand soap and lotion within easy reach.
Choose amber glass for a warm, vintage inspired look, ribbed clear glass for subtle texture or matte ceramic for a soft minimalist style. Place the dispensers on a small tray to contain drips and make cleaning easier. If children use the bathroom, choose sturdy, shatter resistant containers and label their contents clearly.
For the best result, limit countertop accessories to a few useful pieces. A matching dispenser, small tray, and simple plant can provide enough detail without sacrificing valuable sink space. Keep bottles away from the edge of the vanity and wipe up standing water regularly to protect the countertop finish.
Peel and Stick Wall Accents

- Choose a subtle botanical, geometric, or linen textured pattern that complements your existing bathroom colors.
- Measure the wall carefully and purchase enough material to align repeating patterns.
- Clean and dry the surface thoroughly before applying the wallpaper.
- Test a small sample first to check adhesion and confirm that the pattern looks right in your lighting.
- Reserve ordinary peel and stick wallpaper for suitable dry areas away from direct splashes.
A patterned accent wall can give a plain bathroom personality without the mess of traditional wallpaper installation. The wall behind a vanity often works well because it provides a clear focal point without covering every surface. Check the manufacturer’s moisture recommendations before purchasing, especially for bathrooms with limited ventilation. A restrained pattern usually creates a more timeless finish than a busy print.
Warm Light Bulbs

Quick Tip:
Choose LED bulbs around 2700K to 3000K for a warm, welcoming atmosphere. Check the fixture’s maximum wattage, bulb base, dimmer compatibility and recommended color temperature before buying replacements.
Harsh, cool lighting can make a bathroom feel clinical, particularly when paired with white walls and glossy tiles. Warmer bulbs soften the overall appearance and make the room more inviting during evening routines. However, if you apply makeup or shave at the vanity, look for bulbs with good color rendering so skin tones remain realistic. A balanced lighting setup can combine warm ambient light with brighter task lighting near the mirror.
Stylish Towel Hooks

BEFORE
Wet towels draped over the shower door or piled on the vanity create clutter and take longer to dry. A single towel bar may also be inconvenient in a shared bathroom.
AFTER
A row of individual hooks gives each person a designated place for a towel. The wall looks tidier and frequently used linens remain easy to reach.
Choose hooks that coordinate with your cabinet hardware or faucet finish. Measure the spacing before installation so bulky bath towels do not overlap. Secure each hook with the appropriate wall anchor or attach it to a stud when required. For damp bathrooms, prioritize rust resistant materials and allow enough airflow between hanging towels to help them dry properly.
Painted Bathroom Walls

- Choose your shade. Consider warm white, pale sage, dusty blue or soft greige to complement existing tiles and fixtures.
- Prepare the surface. Clean away residue, repair small holes and allow the walls to dry completely.
- Use suitable paint. Select a bathroom-rated formula designed to resist moisture and frequent cleaning.
- Apply thin coats. Follow the manufacturer’s drying times for an even, durable finish.
Fresh paint can make dated bathroom finishes feel more intentional without replacing expensive fixtures. Test sample colors on different walls because artificial lighting can change how a shade appears throughout the day. For areas exposed to direct water, use appropriate waterproof materials rather than relying on ordinary wall paint alone.
Budget Friendly Bath Mats
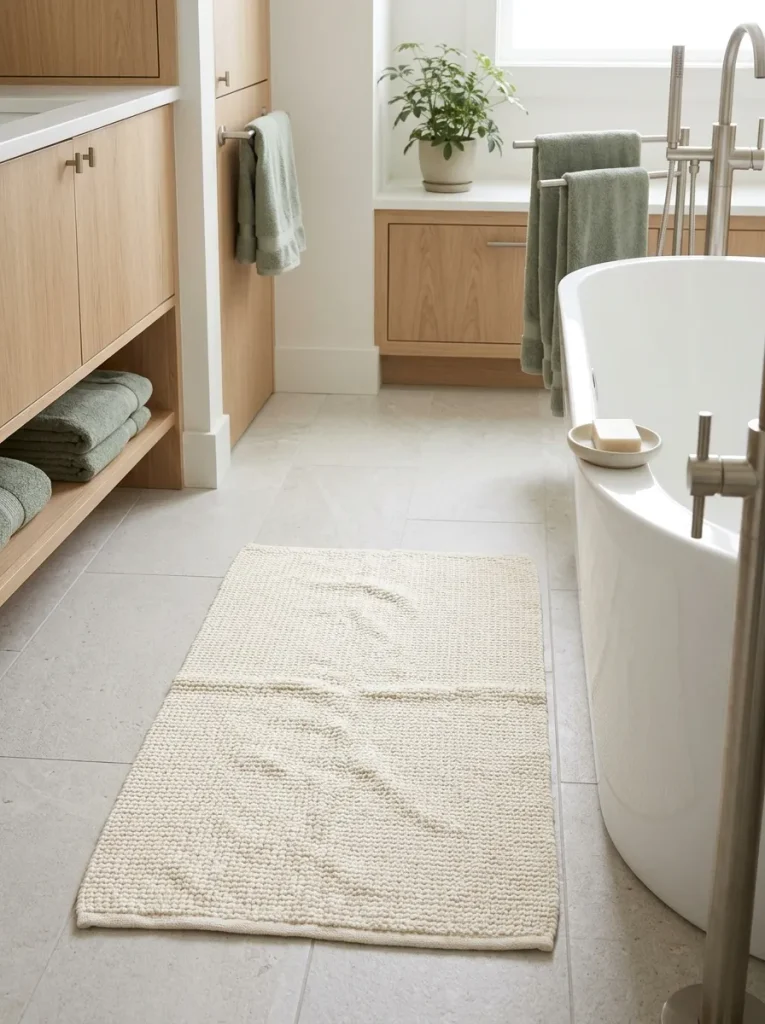
| Feature | Option A: Basic Mat | Option B: Textured Cotton Mat |
| Appearance | Simple and understated | Richer texture and visual interest |
| Comfort | Depends on thickness | Often soft underfoot |
| Maintenance | Check washing instructions | Choose machine-washable cotton when possible |
| Best placement | Everyday family bathrooms | Bathrooms needing a decorative accent |
A bath mat is a small purchase that can tie together the colors of your towels, shower curtain and vanity accessories. Choose a shade that repeats an existing color instead of introducing several competing tones. Prioritize a washable design with a secure, nonslip backing suitable for your flooring and hang it to dry when it becomes damp.
Woven Storage Baskets
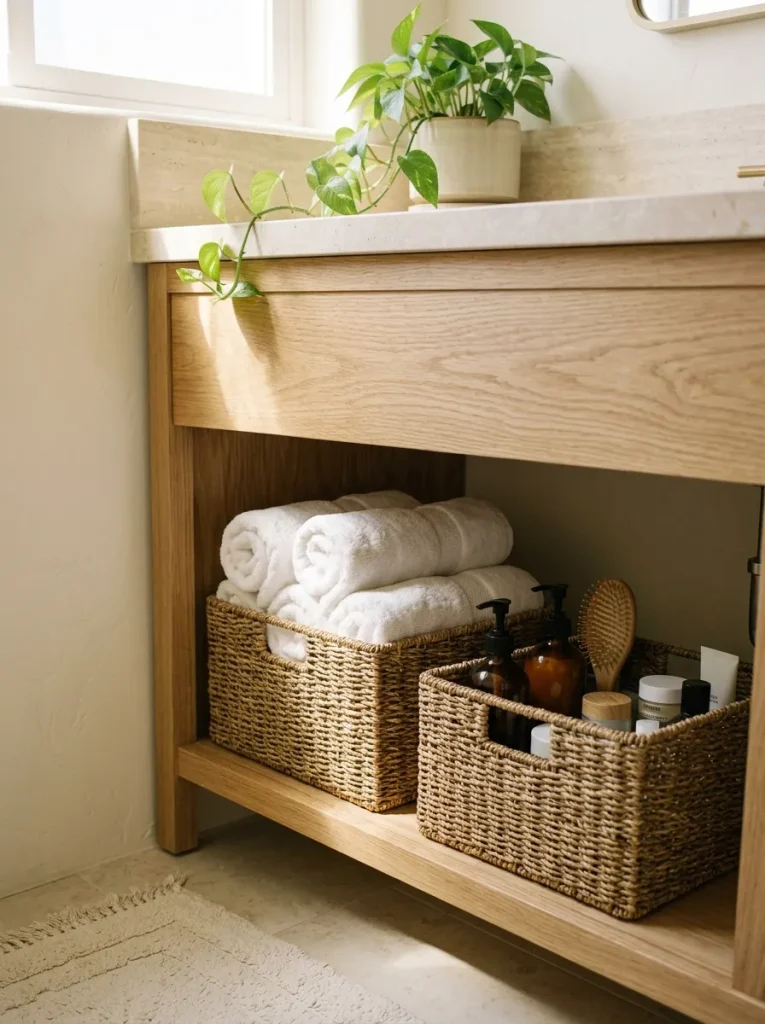
DO
- Measure the space beneath your vanity before buying baskets.
- Choose washable fabric-lined or moisture-resistant containers for frequently used toiletries.
- Group haircare, skincare, and spare toilet paper into separate baskets.
- Use matching baskets to create a consistent look across open shelves.
DON’T
- Store damp towels in closed baskets without adequate ventilation.
- Choose oversized containers that block cabinet doors or plumbing access.
- Place untreated natural fibers directly on wet floors.
- Fill every open shelf until the room feels crowded.
Woven baskets introduce warmth and texture while hiding the everyday products that often make bathroom counters look messy. For open storage, choose two or three matching containers in natural, white, or soft gray tones. Keep frequently used products within easy reach and reserve higher shelves for occasional extras. A little organization can make the entire room feel more spacious.
Modern Toilet Paper Holders

Cost: Low, depending on the finish and mounting style.
Time: Approximately 15 to 45 minutes, depending on installation requirements.
Skill Level: Beginner to intermediate.
Best For: Bathrooms with dated, loose or mismatched toilet paper holders.
Result: A cleaner, more coordinated appearance with improved everyday convenience.
A small hardware detail can look surprisingly distracting when it is worn or does not match the rest of the bathroom. Replacing an old holder with brushed brass, matte black, or polished chrome creates a more consistent finish. Check the mounting method before purchasing, especially if you want to reuse existing holes. Choose a sturdy design that allows the roll to change easily and keeps paper away from splash zones.
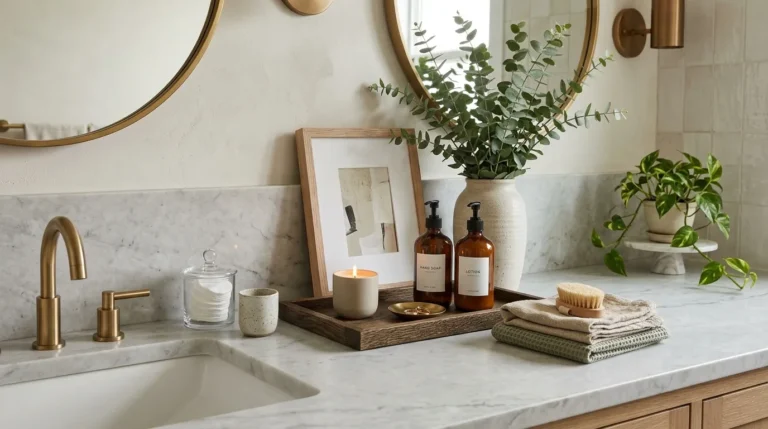
Vanity Countertop Trays

A cluttered vanity can make even a recently updated bathroom feel unfinished. A countertop tray groups everyday essentials into one tidy arrangement, making the sink area look more organized without sacrificing useful items.
- Choose a tray that leaves plenty of room around the sink.
- Use ceramic, sealed wood or water resistant metal for easy cleaning.
- Group only two or three frequently used products together.
- Keep toothbrushes and other personal items in a separate holder when practical.
The secret is restraint. A tray should organize your essentials, not become another place to collect clutter. In my experience, choosing a tray that repeats the bathroom’s existing colors helps the accessories feel connected. Wipe underneath it regularly to prevent soap residue and standing water from damaging the countertop.
Updated Shower Curtain Rods
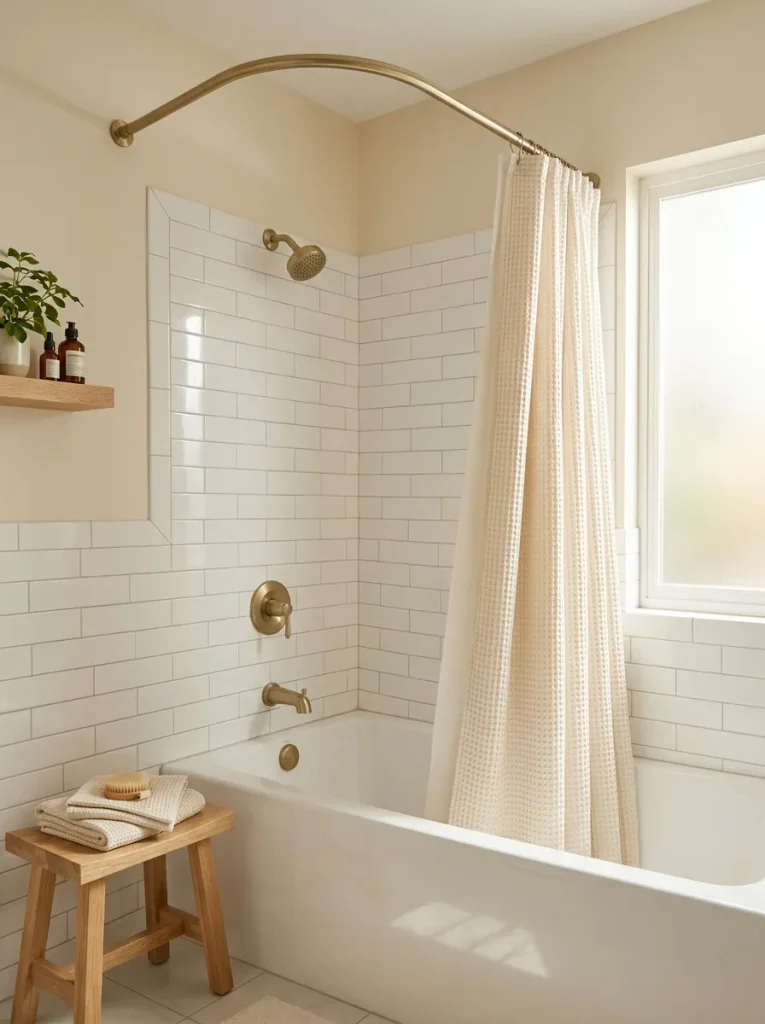
| Feature | Option A: Basic Rod | Option B: Coordinated Metal Rod |
| Finish | Often plain chrome or white | Brass, black or polished chrome |
| Visual effect | Functional and understated | More coordinated with other fixtures |
| Installation | Usually straightforward | Depends on rod type and mounting |
| Best for | Quick, practical replacement | Bathrooms needing a consistent finish |
Replacing a rusty or dated curtain rod is a relatively inexpensive way to refresh the bathtub area. Match the finish to your faucet or towel hooks for a unified look and select a rod designed for your wall type and bathroom layout. Confirm its weight capacity and installation requirements, especially if you choose a heavier curtain. A secure rod and washable curtain make the space both attractive and practical.
Framed Bathroom Artwork

DO
- Choose moisture resistant prints or frame artwork behind glass.
- Use botanical illustrations, abstract shapes or simple line drawings for a relaxed look.
- Repeat colors already found in your towels, shower curtain or vanity accessories.
- Hang artwork securely away from direct splashes and excessive humidity.
DON’T
- Use valuable original artwork in a damp bathroom without suitable protection.
- Overfill a small wall with too many competing prints.
- Choose oversized frames that overwhelm the available space.
- Ignore wall anchors or hanging hardware appropriate for the frame’s weight.
Bathroom artwork adds personality to a room that often contains mostly practical fixtures. A pair of coordinating prints above the toilet or beside the vanity creates a focal point without taking up countertop space. Choose simple frames and a limited color palette for a polished result. Good ventilation and moisture resistant materials help keep your new artwork looking fresh.
Fresh Greenery Accents
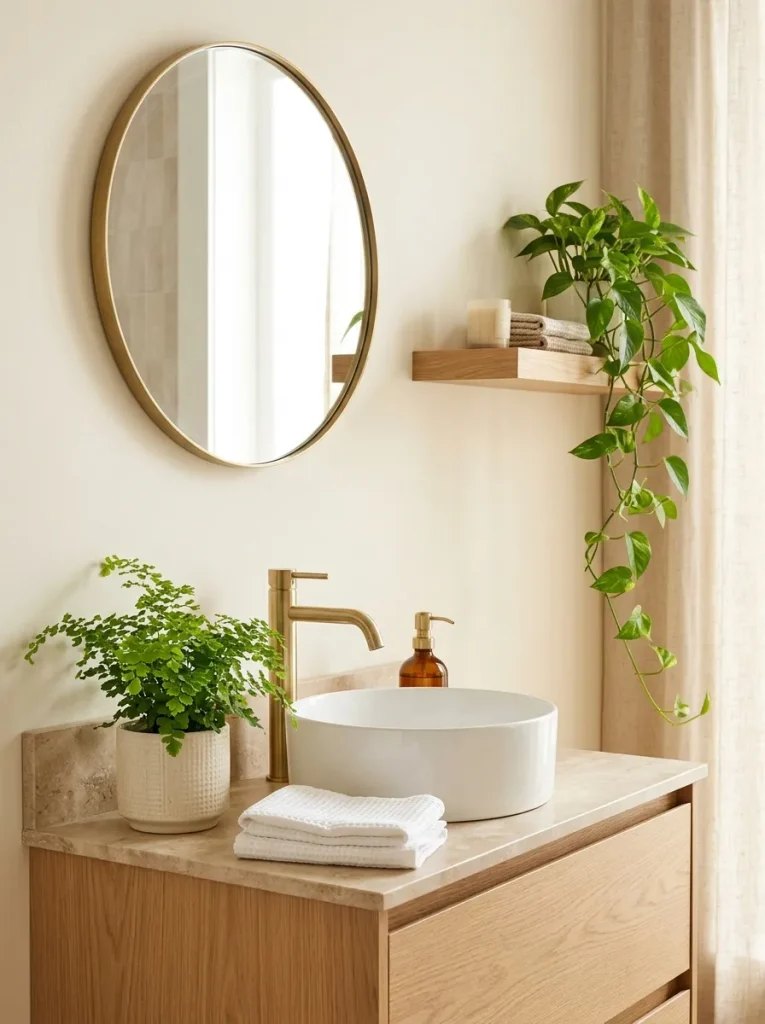
Cost: Low, depending on plant type and size.
Time: About 10 to 20 minutes to style the space.
Skill Level: Beginner.
Best For: Bathrooms with natural light and unused shelf or countertop space.
Maintenance: Choose plants suited to the room’s actual light, temperature and humidity.
A touch of greenery introduces color and softness without requiring new furniture or fixtures. Ferns and some tropical plants may suit humid bathrooms, but humidity alone does not guarantee healthy growth. Check how much light your bathroom receives before choosing a plant. In windowless rooms, a realistic artificial plant can provide a similar decorative effect without the challenges of insufficient sunlight.
Refinished Bathroom Cabinets

A worn vanity does not always need replacing. Refinishing the existing cabinet can preserve a functional piece while giving the bathroom a noticeably fresher appearance.
Before: Scratched cabinet doors, peeling finish and mismatched knobs make the vanity look tired. The surrounding bathroom may feel dated even when the countertop remains in good condition.
After: Properly prepared surfaces, fresh cabinet paint and coordinated hardware create a more unified appearance. The original cabinet remains in place, helping keep material costs lower.
Clean the cabinet thoroughly, repair damaged areas and sand or prime according to the paint manufacturer’s instructions. Use a durable coating suitable for the cabinet material and allow adequate curing time before reinstalling the doors. If the cabinet has swollen particleboard, significant water damage or loose structural joints, address those problems before investing in a cosmetic update.
Peel and Stick Backsplash

- Measure the backsplash area. Calculate the wall dimensions behind the sink and check how much material you need, including extra for cuts.
- Select a suitable product. Choose backsplash panels specifically rated for bathroom use and the expected moisture exposure.
- Prepare the surface. Remove soap residue, clean the wall and let it dry completely.
- Plan the layout. Test the placement of the first panel and check pattern alignment before peeling away the backing.
- Finish carefully. Follow the manufacturer’s instructions for trimming, adhesion and sealing where required.
A backsplash can give the vanity a finished look without the expense and disruption of installing traditional tile. Marble look patterns add subtle detail, while simple white designs keep the room bright. Check product compatibility with your wall surface and local wet area requirements before installation. Ordinary adhesive panels are generally better suited to splash prone but non submerged areas than to shower interiors.
Matching Bathroom Accessories
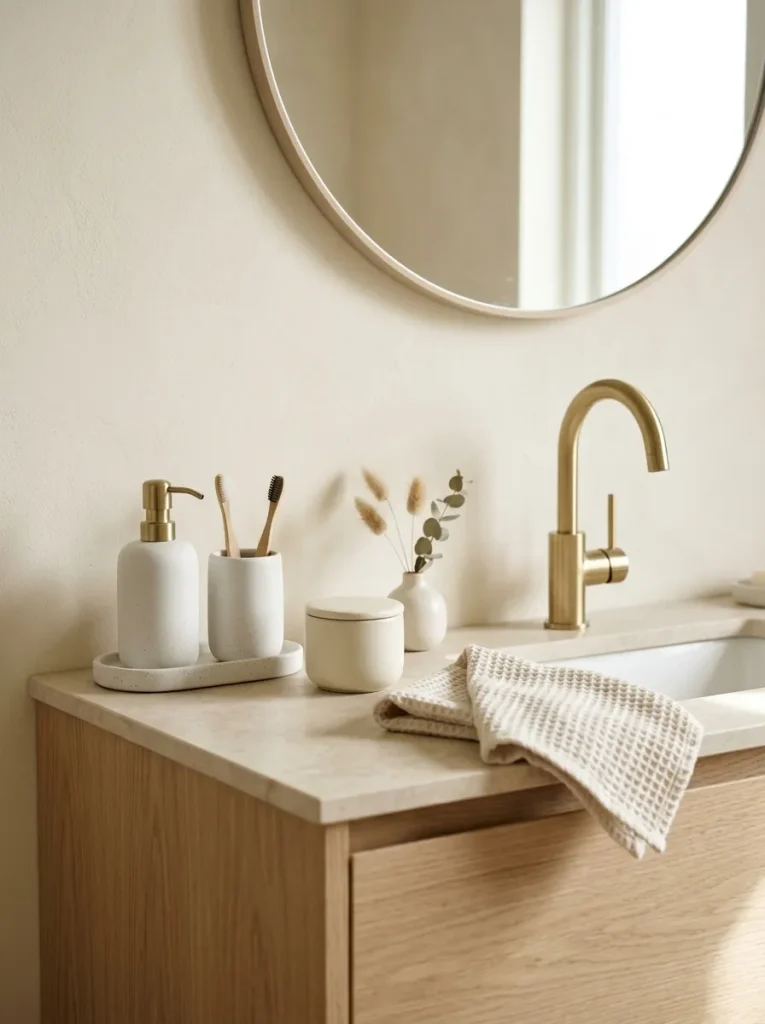
- Match the finishes: Choose accessories in one main material or color, such as matte white ceramic, amber glass or brushed brass.
- Repeat existing tones: Pull colors from your towels, cabinet hardware or shower curtain to create a unified appearance.
- Group smaller items: Place soap, lotion, and a small jar on a tray to keep the countertop organized.
- Mix textures carefully: Combine smooth ceramic with woven storage or natural wood for visual interest.
- Keep essentials accessible: Leave enough clear countertop space for daily routines and easy cleaning.
Coordinated accessories make a bathroom feel thoughtfully finished without requiring expensive renovations. You do not need to replace everything at once. Start with the items that remain visible every day, then add matching pieces as your budget allows. A consistent palette of two or three colors usually looks calmer than a collection of unrelated finishes and patterns.
Replaced Vanity Lighting

BEFORE
An outdated vanity light with harsh glare or uneven illumination can make the sink area feel uninviting. Dark shadows around the mirror may also make everyday grooming tasks less comfortable.
AFTER
A well positioned fixture with suitable brightness creates a more balanced lighting arrangement. Frosted shades can soften glare, while coordinated metal finishes help the vanity look more cohesive.
Choose lighting designed for the bathroom’s moisture conditions and check the fixture’s safety rating before purchasing. The right brightness and color rendering matter as much as the appearance of the fitting. Because replacing a hardwired fixture involves electrical connections, hire a qualified electrician if you are not trained to do the work safely. A carefully selected light can refresh the vanity while improving everyday visibility.
Decorative Window Treatments
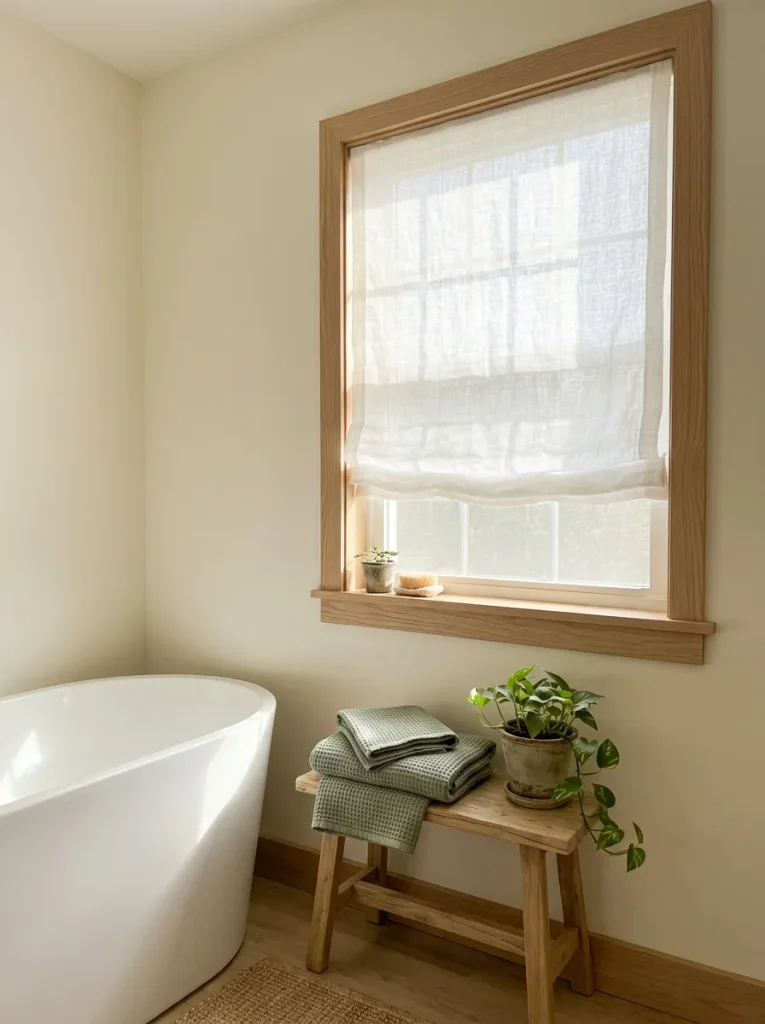
DO
- Choose moisture tolerant window treatments suited to your bathroom’s ventilation and humidity.
- Use light filtering fabrics to soften daylight while maintaining a bright atmosphere.
- Select a simple white, beige or muted green shade that complements your towels and walls.
- Check the window’s privacy needs before choosing a sheer or translucent material.
DON’T
- Use delicate fabrics that cannot withstand the room’s conditions.
- Block essential ventilation or access to window locks.
- Choose heavy patterns that compete with decorative tiles.
- Assume a translucent shade provides adequate privacy at night.
A simple window treatment can soften hard bathroom surfaces and make the room feel more finished. Roman shades offer a tailored look, while moisture resistant roller blinds provide a practical alternative for humid spaces. Measure the window carefully before ordering and prioritize privacy where needed. If the bathroom has no window, a fabric free decorative approach may be easier to maintain.
Upgraded Shower Storage

Cost: Low to moderate, depending on the storage system.
Time: Approximately 15 to 60 minutes, depending on installation.
Skill Level: Beginner for removable caddies, intermediate for mounted shelves.
Best For: Showers crowded with shampoo bottles and loose toiletries.
Result: More usable space and a cleaner looking shower area.
Scattered bottles can make even a spacious shower feel cramped. A corner caddy, hanging organizer, or properly installed shelf gives everyday products a designated home and keeps the floor clearer. Choose rust resistant materials and check that suction or adhesive systems are suitable for your tile surface and humidity levels. For heavy bottles, use a securely mounted solution rated for the expected load.
Fresh Toilet Tank Styling

A bare toilet tank can look a little overlooked, but a small decorative accent can help connect it to the rest of the bathroom. Keep the arrangement simple with one or two lightweight items that complement your existing colors.
Budget tip: Use a small tray you already own, a compact artificial plant or a simple ceramic container rather than buying a full set of decorations.
Avoid placing heavy objects, loose toiletries or anything that could interfere with the flush mechanism. Keep decorations stable and away from edges and leave the tank lid accessible for maintenance. In a particularly small bathroom, a single plant or small vase is often enough. The goal is a neat finishing touch, not another surface that collects clutter.
Updated Bathroom Door Hardware
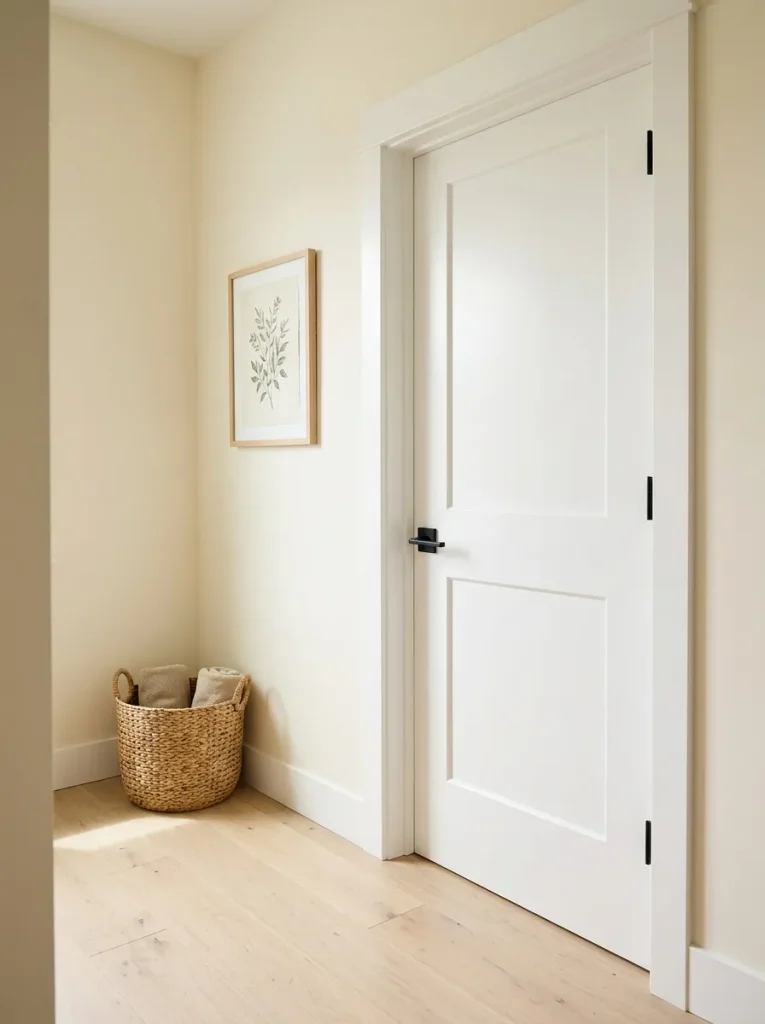
- Replace an outdated door handle with a finish that complements your bathroom faucets and cabinet pulls.
- Measure the existing handle dimensions and check the latch type before purchasing a replacement.
- Choose a privacy lock designed for bathroom use.
- Match the hinge finish where practical for a more consistent appearance.
- Keep the original hardware if you are renting and need to restore the door later.
Door hardware may seem like a minor detail, but it is one of the first things you notice when entering a room. A fresh lever handle can make an older door look more current without replacing the entire door. Choose a durable finish that tolerates frequent handling, and follow the manufacturer’s fitting instructions to ensure the privacy lock works properly.
Decorative Bathroom Mirrors
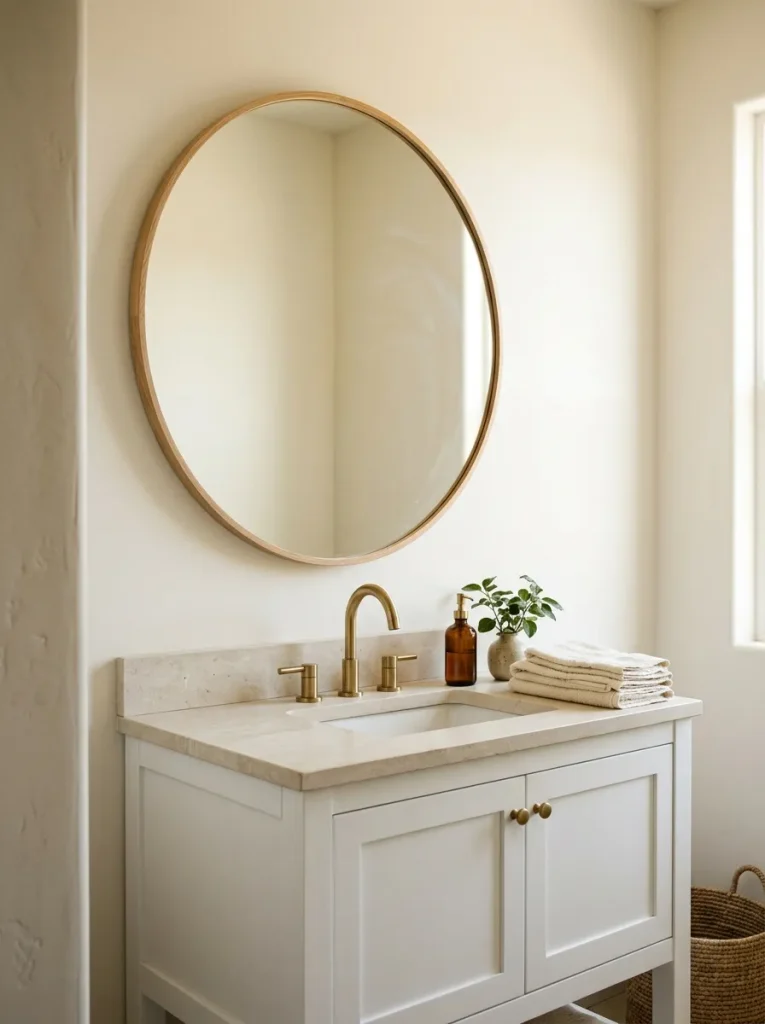
Quick Tip:
Choose a mirror size that suits the vanity width and leaves enough clearance for faucets, lights and nearby cabinets. Before drilling, check the wall for pipes and wiring and use mounting hardware rated for the mirror’s weight.
A decorative mirror can become the focal point of a bathroom without requiring changes to the vanity or tile. Round mirrors soften rooms with many straight lines, while rectangular designs offer a clean, structured look. For a coordinated finish, repeat the mirror frame’s color in your cabinet hardware or towel hooks. In a small bathroom, a generously sized mirror can also help reflect light and make the room feel more open.
Coordinated Bathroom Color Palette
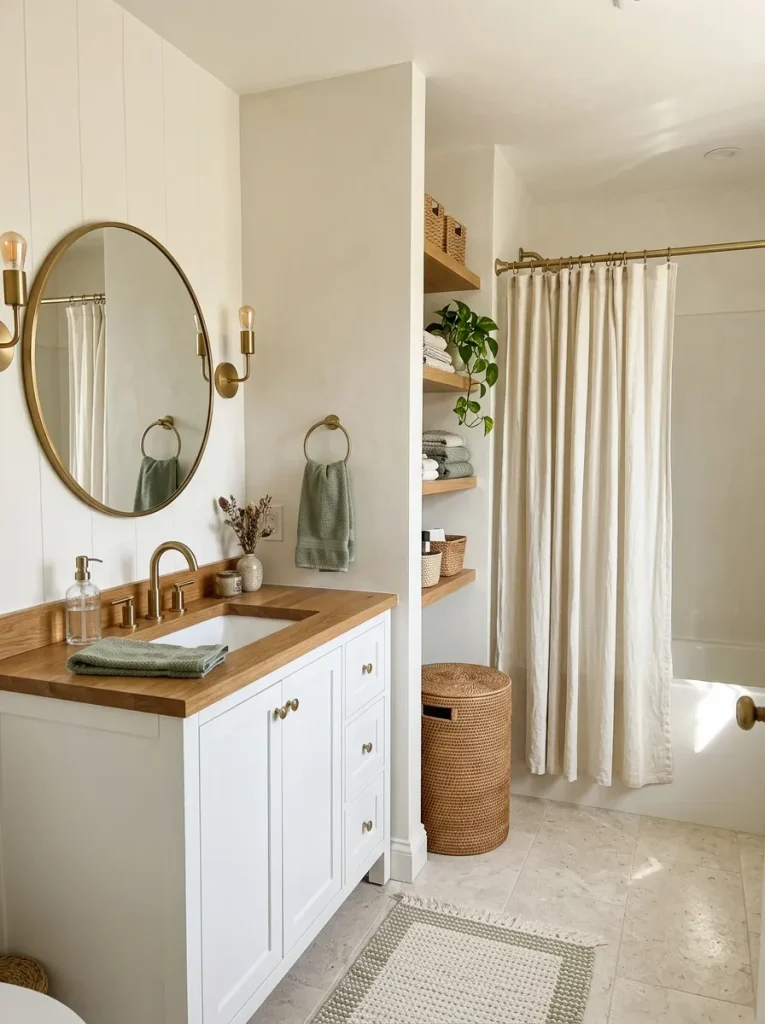
BEFORE
The bathroom has mismatched towels, unrelated accessories, and several competing colors. Even attractive individual items can make the room feel visually busy when they do not work together.
AFTER
A simple palette of two or three complementary colors connects the vanity, linens, wall accents, and decorative pieces. The room feels calmer and more intentional without requiring every fixture to match.
Start with the permanent finishes you already have, such as floor tiles, countertops and cabinetry. Choose one main neutral, one secondary color and a small accent finish. Repeat those choices in inexpensive items like towels, soap dispensers and baskets. This approach helps you avoid unnecessary purchases and makes future updates easier because each new item has a clear place in the overall design.
Conclusion
A beautiful bathroom doesn’t have to come with a hefty price tag. With these 30 budget friendly updates, you can refresh tired cabinets, brighten your vanity, improve storage and add thoughtful decorative touches without committing to a full renovation.
The best Bathroom Makeover Ideas are the ones that fit your budget, your space and your everyday needs. Start with one simple swap and see how it changes the room’s overall feel.

One Comment